

There’s a common misconception that professional film restoration software is only for experienced colorists, restoration specialists or large facilities. The reality is that everyone starts somewhere. Learning Phoenix could sound daunting, but everyone has to start somewhere.
When Catalina Altuna approached Filmworkz, she wasn’t looking for a shortcut — she was looking for the opportunity to learn. Having studied Film Preservation and gained hands-on experience as a digitisation technician at Filmoteca Española, she wanted to take the next step into digital restoration and began teaching herself Phoenix Restoration & Color.
We’re delighted to share Catalina’s learning journey as a regular guest blog on the Filmworkz website. Through her experiences, challenges and discoveries, we hope to demystify professional restoration software and show that, with curiosity and practice, anyone passionate about preserving film can begin developing the skills needed to work in this field.
If Catalina’s story inspires you to start your own journey, you can explore Phoenix Restoration & Color for yourself with our free trial, giving you hands-on access to the same professional tools used by archives, post-production facilities and restoration specialists around the world.
Start your free Phoenix trial today and discover where your restoration journey could take you.
Catalina’s articles will hopefully give you a head-start – you can also Ask Juno for guidance on using Phoenix – Juno’s always on, wherever you are in the world, 24/7!
And you can follow Catalina in Pocket Films, alongside global Providers who make films happen.
Learning Phoenix | Getting Started – Part I
This is the first entry of a series where I’ll be sharing what I’m learning as I get started with Phoenix Restoration & Color software. The idea is to build an easy guide to follow for people who, like me, are just beginning with it.
In this first post I’ll go over the general interface, some of its pages, and the first action you’ll take: setting up your storage preferences, creating a project and understanding its settings. In the next entries I’ll go over some other actions like importing media, and how timelines (known as compositions) and restoration tools (known as effects) work. Later on, I’d like to go deeper into specific topics and into practical examples.
Knowing the interface
When you open Phoenix the first screen it’s the User Select Screen or Login Screen.
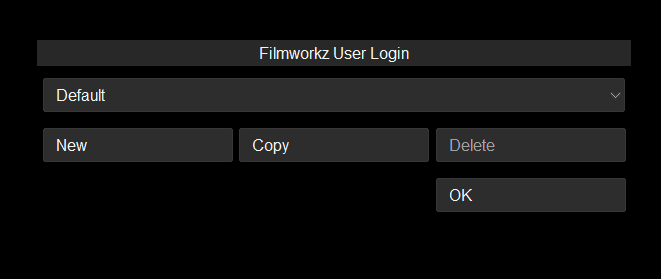
Here you can create your own user or leave it to Default. Having a user gives you the advantage to save certain preferences related to interface layout, color grading settings, and project configurations. You can also transfer your user’s preferences to new software versions. Create it by clicking on “New” and writing the name of your user in the box.
Once you select your user or leave it to Default next screen will be the Startup Screen, this is the software itself.
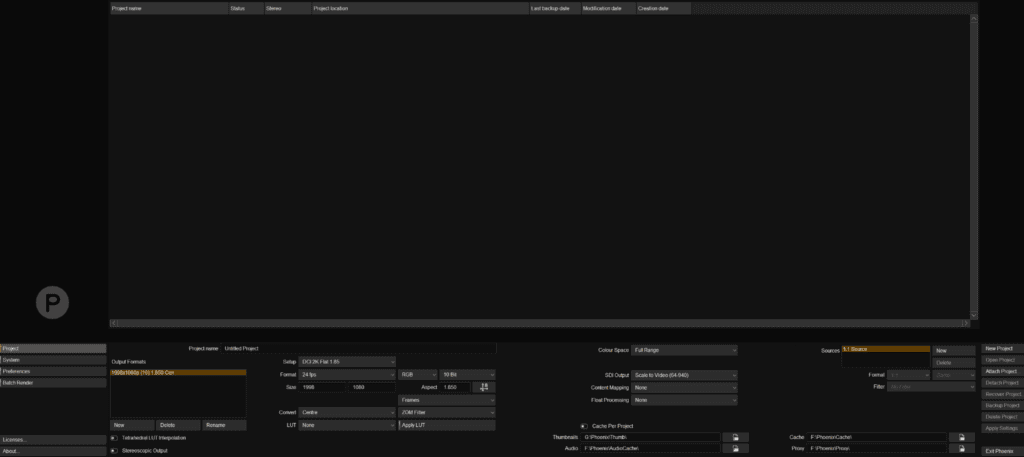
Here you’ll find on top the “Project Browser” window and in the bottom the four main pages:
Batch Render | Project | System | Preferences
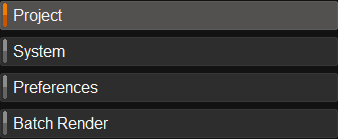
Depending on which of them you choose, both top and bottom of the interface will change and show different parameters.
Preferences page: setting storage location
If it’s the first time you are using Phoenix, or you are starting a new project, the first thing is to set in “Preferences“ where all the media and project-related files will be stored.
Preferences < Project Storage < Quick Setup


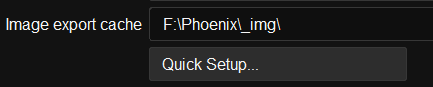
Once you click on the “Quick Setup…” the “Path Setup Wizard“ window will open. Here you must set the “Media Location“ and the “Project Location“ drives. Once the main Media and Project location drives have been set, you will be able to edit individual locations if wanted.
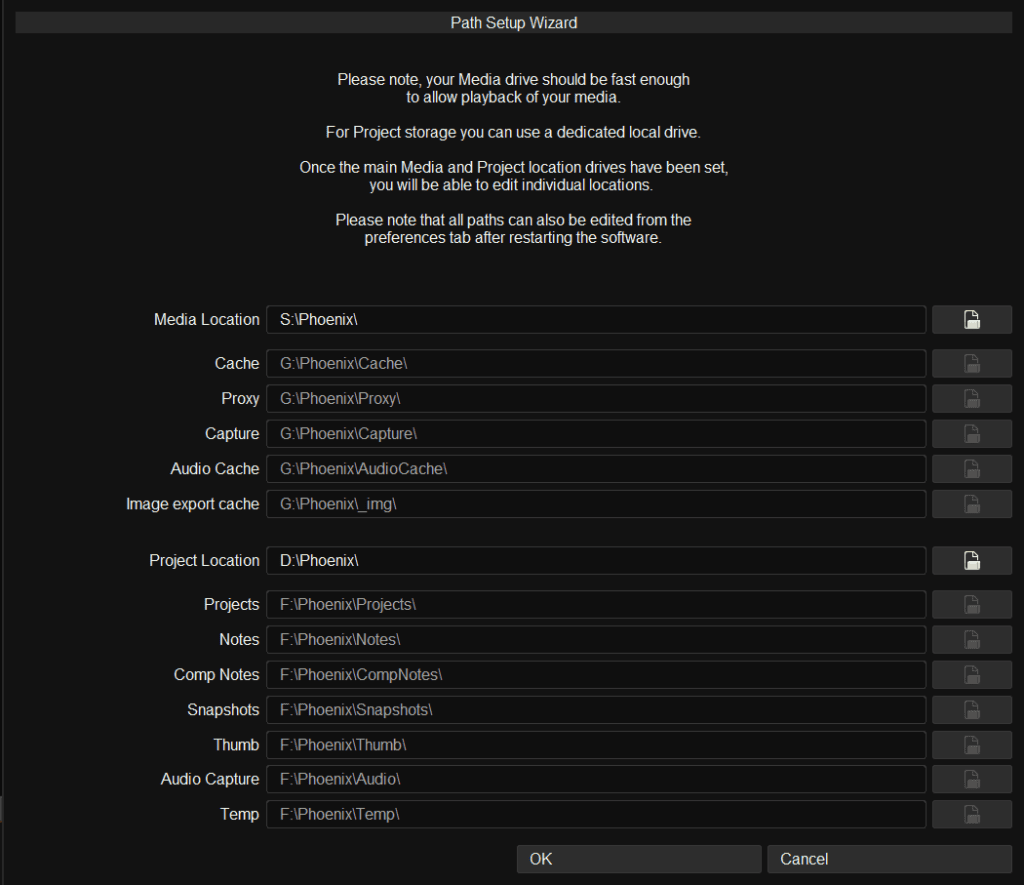
It’s important to separate the two main locations, Media & Project Location, into two fast drives.
To set the new path, click on the button to the right of “Media Location“ and “Project Location,” and a “Select File“ browser will open.
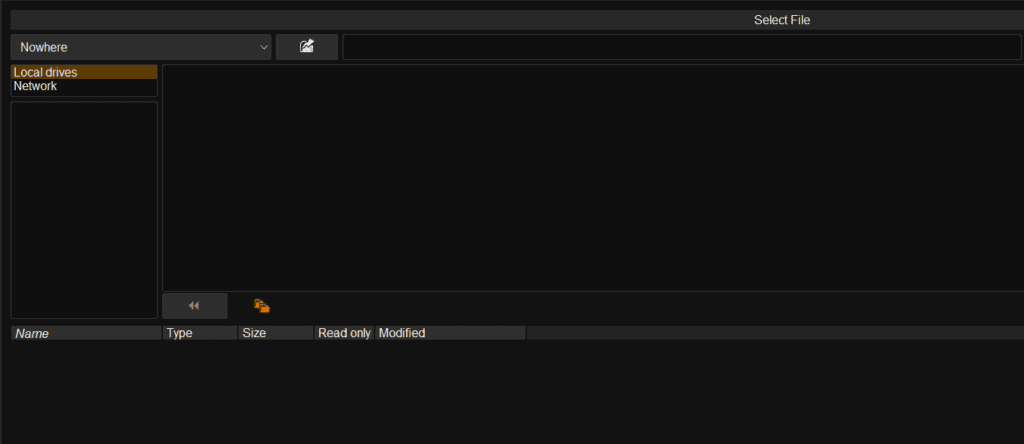
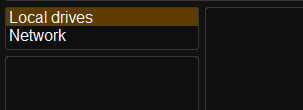
Local Drive is where you’ll see the different drives in your computer. If it’s empty, switch to Network and back to Local Drives, and it’ll load properly.
In the top section you’ll see the different paths and locations in your computer and in the bottom section will be detailed what is inside the folder selected in the top section.
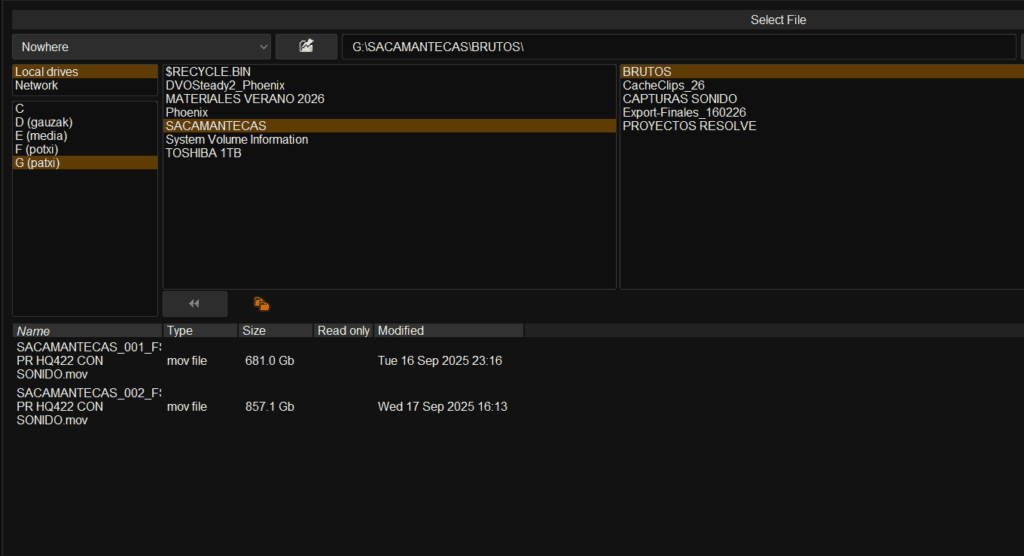
From the list on the left choose the location you want to use and there create a new folder: with the location selected go to the top right section and enter the name of the new folder you are going to create. In the example I’m creating a folder named Phoenix.
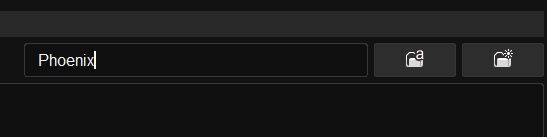
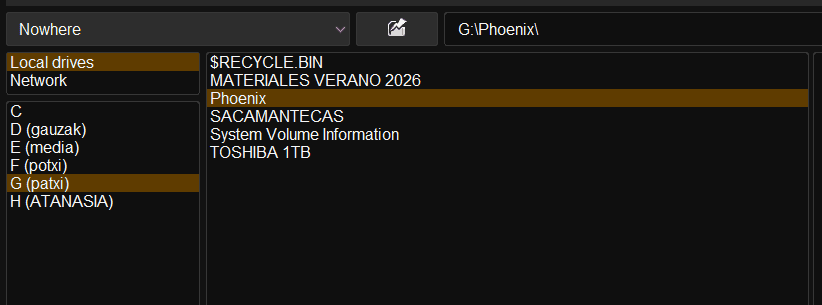
After naming it by clicking the last button the new folder will be created in your chosen location.

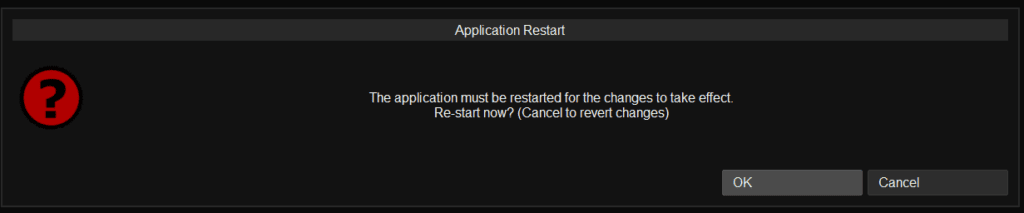
After setting the storage location you’ll need to restart the application. If you try to go to the “Project“ page, a message will tell you to restart the application first.
Project page: creating a project
Here the first thing to do is name the new project.

Just below, at the left, there are the “Output Formats“. Phoenix allows you to create different outputs within the same project from the beginning.
By default you’ll see a first output created and to create more outputs, you have to first click the “New“ button because if you have an output selected and go straight to changing the parameters, you’ll be editing the current output instead of creating a new one.
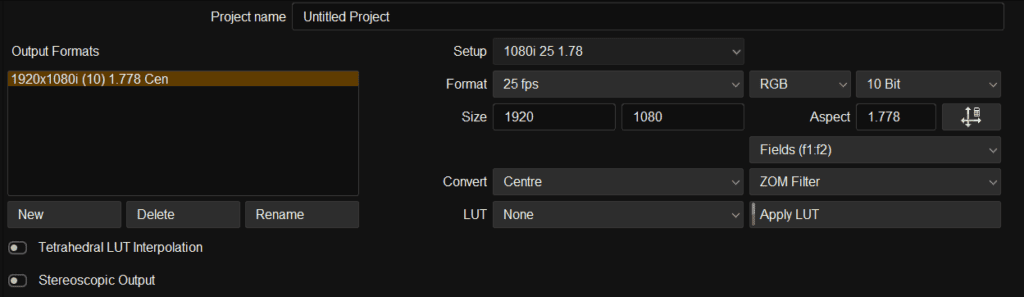
Once you create a new output, you can set/change its parameters starting with:
- Setup: there are many different setups you can choose from.
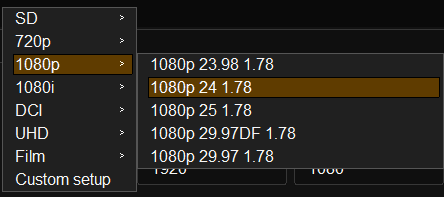
If you choose custom before you can set the next parameters individually:
- Format: refers to fps.
- Size: refers to resolution.
- Aspect: refers to aspect ratio.
Other important project settings:
- RGB/ RGBA: select RGB unless you specifically need alpha transparency.
- Bit depth: it determines how many colors can be represented and affects the overall quality and detail of the image. You can choose between: 8 bit, 10 bit, 16 bit and Half.
- Convert: defines how the media you bring into the project is interpreted:
- None: there won’t be conversion. Whatever your original resolution is, that’s what gets applied. This always puts the media in the bottom right.
- Auto Fit: automatically fits the image, top or bottom, or resizes it, depending on the original resolution of the footage.
- Auto Crop: fits the original footage but crops top or bottom, or resizes.
- Center: makes sure the image is centered. This is a common option.
- ZOM) Filter: these filters determine how it does the scaling.ZOM is the regular filter that gives you a very good over quality and it’s good for downscaling and upscaling.
- Frames: it’s for projects that need to be interlaced and you can choose between fields.
- LUT: you can load a LUT by selecting this option first and then a box it will appear where you can choose from different LUTs or you can load one from the icon next to it.

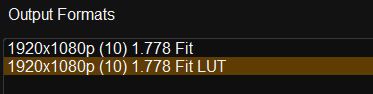
Once you have your LUT loaded, if you turn on the “Apply LUT” button it means that the LUT will be rendered every time you create an export. This means that the Output will have a LUT that can’t be turned off.

If “Apply LUT” is not selected it means the LUT will be shown but you can turn it on and off and it will not be rendered.

Finally, all this set up information will appear in the name of the Output. The resolution, (bit depth), aspect ration, convert mode, and if you selected a LUT, it will only show in the name if it’s in the “Apply LUT” mode.
A few more settings are:
- Colour Space: it will define how colors are represented and managed throughout your project and determines how the colour tools are going to affect your image.Notice that it’s important that if you start a project on one colour space, do some grade and then change it, your grade will change too. So, choose a color range, a color space and use it through the entire project.
- SDI Output: only work if you have a video card that supports SDI output.
- Content Mapping: you’ll use it if you are doing Dolby Vision workflows and HDR workflows.
- Cache Per Project: turning this on lets you create specific cache folders for every project.
- Sources: this lets you create different proxies to work with. In restoration workflows you usually work in 1:1 source resolution but if you’re doing heavy effects work you may need to work on smaller files.
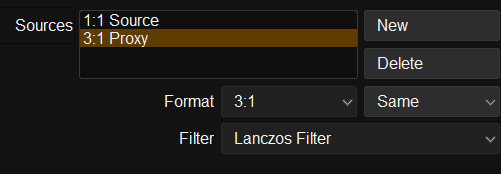
Once you’re done with the project settings, click on “New Project“ on the right.
Project Browser
The newly created project will appear in the “Project Browser” window.
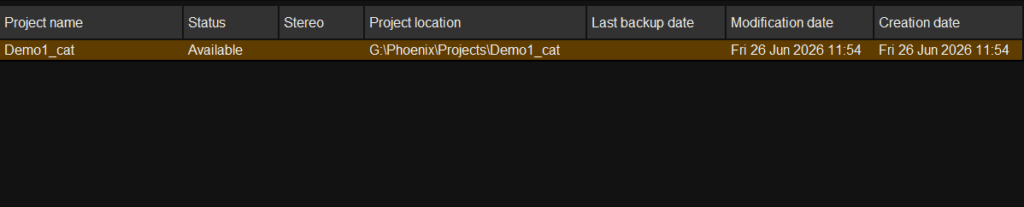
Note that everything in orange is selected in all the interfaces.
In this project library you’ll see some information inside columns. With the mouse cursor in the middle line between them you can modify the width and if you click inside the column’s name and drag it you switch places among them.
Finally, to open a project, double click it, and it will open the “Project“ page, ready for you to start working.
That’s it for this first step in learning Phoenix – a project set up and ready to go! In part II I’ll cover importing media and creating and understanding timelines (compositions).
See you in Part II,
C.
