
Learning Phoenix with Catalina
Everyone Starts Somewhere follows Catalina as she learns Phoenix Restoration & Color from the ground up. With a background in film preservation and digitisation, she’s documenting the real-world challenges, discoveries and milestones of becoming a digital restoration artist. Whether you’re just starting out or refining your skills, we hope her experiences inspire you to begin (or continue) your own journey.
Download the free Phoenix trial today to get hands-on experience with the same professional tools used by archives, post-production facilities and restoration specialists around the world.
Catalina’s articles will hopefully give you a head-start – you can also Ask Juno for guidance on using Phoenix – Juno’s always there for 24/7 global support, any language, any time!
And you can follow Catalina in Pocket Films, alongside a host of global Providers who make films happen.
Getting Started – Part III
Hi there! Today I wanted to dive into the tools & controls of the timeline. I’ll also show you how to do scene cut detection in order to have your clip divided into shots.
Let’s get started!
Timeline elements & controls
Video and Audio Tracks
By default an empty composition will have one video and one audio track.
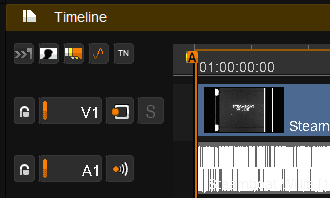
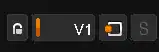
You can enable or disable a track by clicking its orange/gray vertical line.
Be careful with this: when adding footage to your timeline be sure to have the track selected. Also when you want to apply a specific effect or adjustment (for example when using adjustment layers) be aware of which track is selected and active.


You can also lock the track. This will prevent editing, cutting, moving or being overwritten.


You may turn on/off the tracks. This means that when you turn a track on you can see it in the viewer and when you turn it off you don’t see it in the viewer. With video tracks by turning it off you don’t even see its layers and effects in the Layer Box (you’ll see it empty).


Be careful with this because turned off tracks won’t be exported.
Maybe you have several video tracks and you want to display only one. For this you switch between “S” (solo) on/off.


Above there are some global track controls.
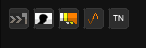
- Scroll timeline: activated it makes the timeline move while playback. By default it’s turned off and your timeline will be static.
- Toggle thumbnails on/off: you can choose between seeing the thumbnails of your footage in the video track or not.
- Enable/Disable multiple heads: when off you only see “A” playhead, when on you’ll see the other available playheads.
- Enable/Disable audio waveform: choosing this allows you to see the waveform in the audio track or not.
- Toggle track name overlay on/off
Below the timeline you have several other controls.

I’ll show them to you in groups.
Creating and Deleting Tracks
These are at the very right.

- Create a new video track above selected video track.
- Create a new audio track above selected audio track.
- Copy selected video/audio track.
- Move selected video/audio track up.
- Move selected video/audio track down.
- Delete selected video/audio track.
Media Segments
Media segments refer to the clips in the timeline. They are displayed on the timeline with head and tail thumbnails (while Toggle thumbnails is on).
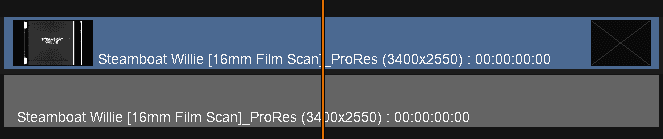
Segments are colour-coded like this:
Normal segment is gray.
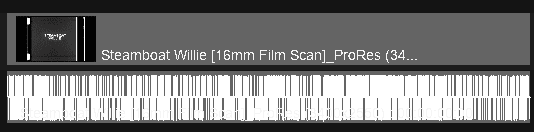
Active segment is blue.
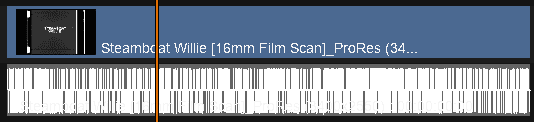
Selected segment is orange.
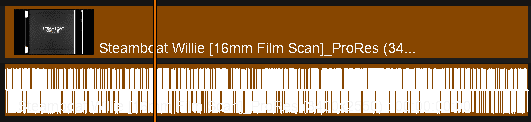
Selected segments will always have priority.
As a reminder, when one or more segments are selected, your composition timeline scroll-bar will also turn orange to indicate this.

Timeline Marks
You can add marks to certain areas of a clip to carry out different actions, such as deleting it, limiting it as a clip insertion area, or using it for playback.

- Mark IN (also “I”)
- Mark OUT (also “O”)
- Mark selected shot IN & OUT (also “P”)
- Clear IN (also “ctrl+ I”)
- Clear OUT (also “ctrl+ O”)
- Clear selected shot IN & OUT (also “ctrl+ P”)
Bookmarks
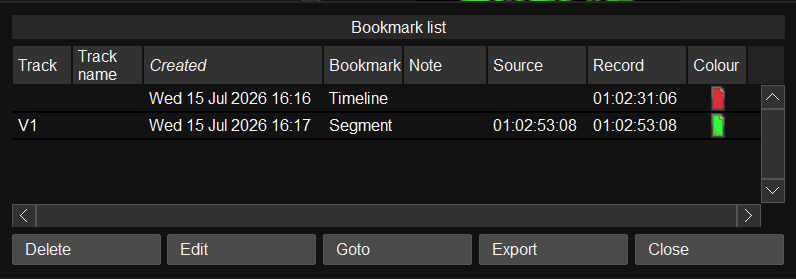
They are useful for taking notes. You can create one with “ctrl + M”.
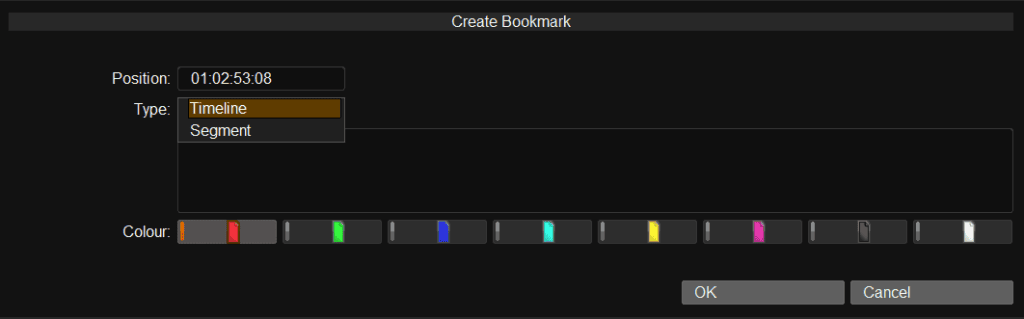
You can add it to the timeline or to the clip (segment).
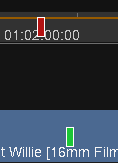
While timeline bookmarks will stay fixed to a specific TC in the timeline, the segment bookmarks will move alongside their clip.
By pressing “M” a window opens and displays all bookmarks created on the current composition.
Manipulating Compositions
Timeline editing tools are found on the timeline toolbar at the bottom. I’ll explain to you the ones I’m using right now.
You need to change the toolbar to the “Show timeline tools actions” using the switch button.


There’s an important concept to learn first, which is the Ripple Mode. You can turn it on/off from the last button of this group of tools.


This will affect how the timeline behaves when you delete or trim a clip. When it’s off and you delete or change the duration of a clip by trimming in the timeline you’ll have a gap. But, when it’s on as soon as you delete or change the duration of a clip the clip from the right will automatically move to the left to fill the gap.
Insert Cut: makes a cut where the playhead is positioned. Shortcut is “C”.

Splice Edit Source: to add material to the timeline. If there is any other clip where the playhead is positioned it will be moved to the right.

Overwrite Edit Source: to add material to the timeline. If there is any other clip where the playhead is positioned it will be overwritten. Shortcut is “B”

Remove Selected Shots: eliminates shots that are selected. You can also double-click the segment and select “Delete section”.

Remove Marked Range: eliminates the shots that are inside an IN/OUT marked area.

Move Timeline Segment
In order to move or copy a segment/clip around the timeline you need first to enable this mode. When copying clips you can paste by “V” (splice) or “B” (overwrite) just like before. Copied clips will be inserted where the playhead is positioned or when you marked IN/OUT.

Trimming Mode
To activate trim mode you turn it on/off from the toolbar or use the shortcut “ctrl + U” (with “ctrl + U” you switch between Move/Trim/both off).
In trim mode you can change the size of the clip (its duration) by dragging from the sides. You can always shorten it but you can only lengthen it if it has handles. Having handles means that the source clip has frames before and/or after. If it has them you’ll see horizontal yellow lines.
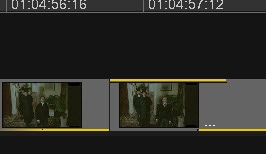
If the clips have handles you’ll see a handle drag bar to move them.
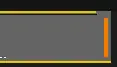
You can trim using the mouse or using keyboard shortcuts or writing a trim value.

There’s also the possibility to do transitions. Notice that you must have handles for this.
If you switch the toolbar button to “Show layer/effect tool action” you’ll have a completely different toolbar.


In this mode you have, for example, all keyframe options. But this will be seen later.
Automated scene detection
If you want a clip to be divided into all its shots you can apply scene detection by clicking the “Automated Scene Detection” button below the playback controls.

Make sure you have your video track selected.
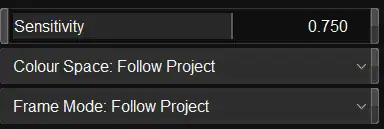
You can change the detection sensitivity in the “Scene Detect” tab.

The lower the value the less sensitive the scene detection is.
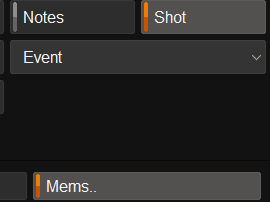
While performing scene detection you’ll see the edits appearing on the timeline and you can click on the “Mem..” button (memories) at the right and see what’s going on your timeline.

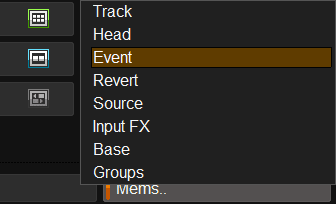
In the Event mode you can see the exact number of shots there are in your timeline. Every time a new cut is added a new event will be shown in this section.
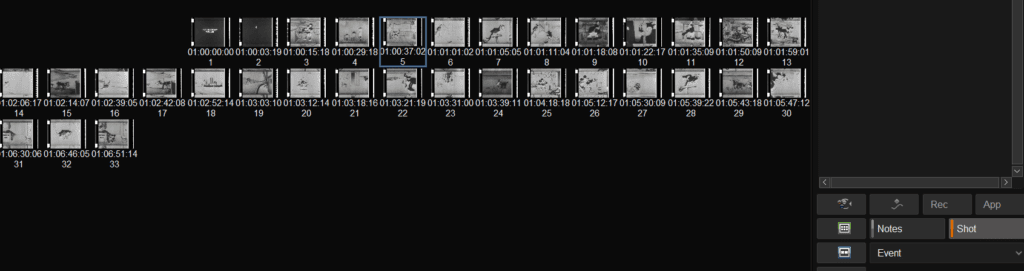
If you had performed scene detection only in a part of the clip and still need to scene detect the other part left you can use the in/out point. With the playhead over the clip you want to scene detect, press “P” and it will mark in/out from the beginning to the end of the clip where the playhead is resting.
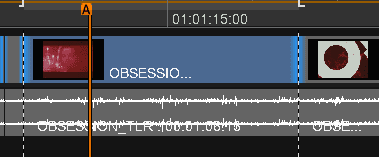
Click on the “Automated Scene Detection” button and it will do it only in this clip selected by in and out points.
Note that Phoenix always prioritizes playback. For example, if you are carrying out a scene detection and you play your clip it will pause the scene detection. The same thing will happen with the rest of the tasks running. Whenever you stop playing it will automatically restart the task.
That’s it for this step. I strongly recommend checking your scene detection once it’s done. Although the tool works very well, it’s a good practice to check every cut and make sure it didn’t miss anything or add an incorrect cut. For example, some old films have a fluctuation of light at the beginning of scenes, and this can sometimes look like a scene change to the tool. Hope you find this useful.
See you in Part IV,
C.