
Learning Phoenix with Catalina
Everyone Starts Somewhere follows Catalina as she learns Phoenix Restoration & Color from the ground up. With a background in film preservation and digitisation, she’s documenting the real-world challenges, discoveries and milestones of becoming a digital restoration artist. Whether you’re just starting out or refining your skills, we hope her experiences inspire you to begin (or continue) your own journey.
Download the free Phoenix trial today to get hands-on experience with the same professional tools used by archives, post-production facilities and restoration specialists around the world.
Catalina’s articles will hopefully give you a head-start – you can also Ask Juno for guidance on using Phoenix – Juno’s always there for 24/7 global support, any language, any time!
And you can follow Catalina in Pocket Films, alongside a host of global Providers who make films happen.
Getting Started – Part IV
Hi there! Today I’m going to show you how to apply effects and how they work, along with some very useful comparison and viewer tools. We’ll also take a first look at caching and rendering.
DVO Effects
Applying a DVO effect
On the left of the timeline there’s the Effect Tree where you can find effects and colour correction tools that can be used in the segments in the timeline.
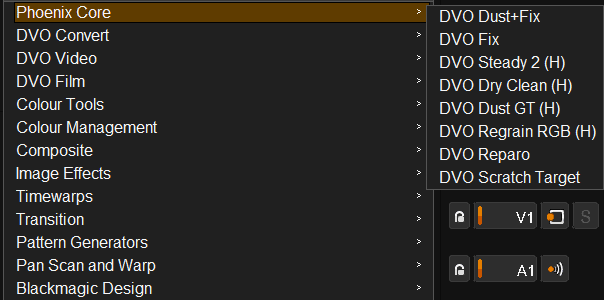
We’re going to focus on the DVO Effects which are the digital restoration tools you’ll be using. From the top dropdown you’ll choose the effect you want to apply. You’ll find them in three groups: Phoenix Core, DVO Convert, DVO Video and DVO Film.
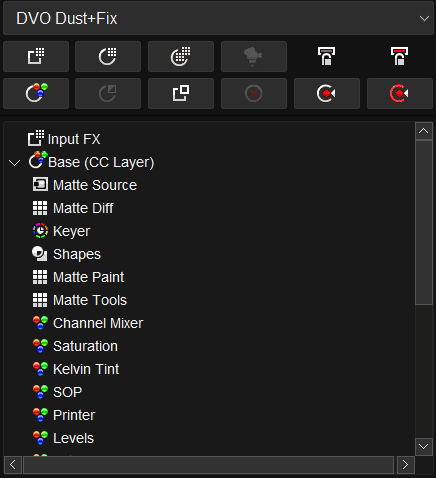
Once you have the effect chosen you decide how to apply it and put it into the Effect Tree. There are some different options.

- Add the selected effect as an Input Effect.
- Create a new layer for the Effect you are applying.
- Having a layer selected apply the Effect to that layer.
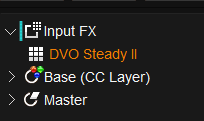
When you apply an effect as an Input FX you’ll see it inside the Input FX dropdown menu.
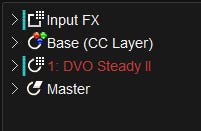
When you apply it as a new layer you’ll see it like this with its own dropdown menu.
If you open the dropdown menu it will show the Effect Tree. This contains specific tools for that effect, which we’ll cover later.
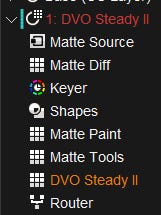
The good thing about applying it as a new layer is that you can change the position of the layer within the effects tree and therefore the order that it will be processed.
To rename a Layer select it and press “F2” (in some keyboards you need to add FN) and change its name. To delete it, select it and press the delete button.

You can also reset the layer, meaning that you are deleting its effect but you’re not deleting the layer.

Notice that you’ll see the name of the DVO effect twice. At the top it’s the name of the Layer that contains the Effect and tells us that all the options in this dropdown menu are the tools we can use related to this effect. At the bottom the name is the effect itself and by clicking it it will open the Effect Parameters tab.
Effects parameters
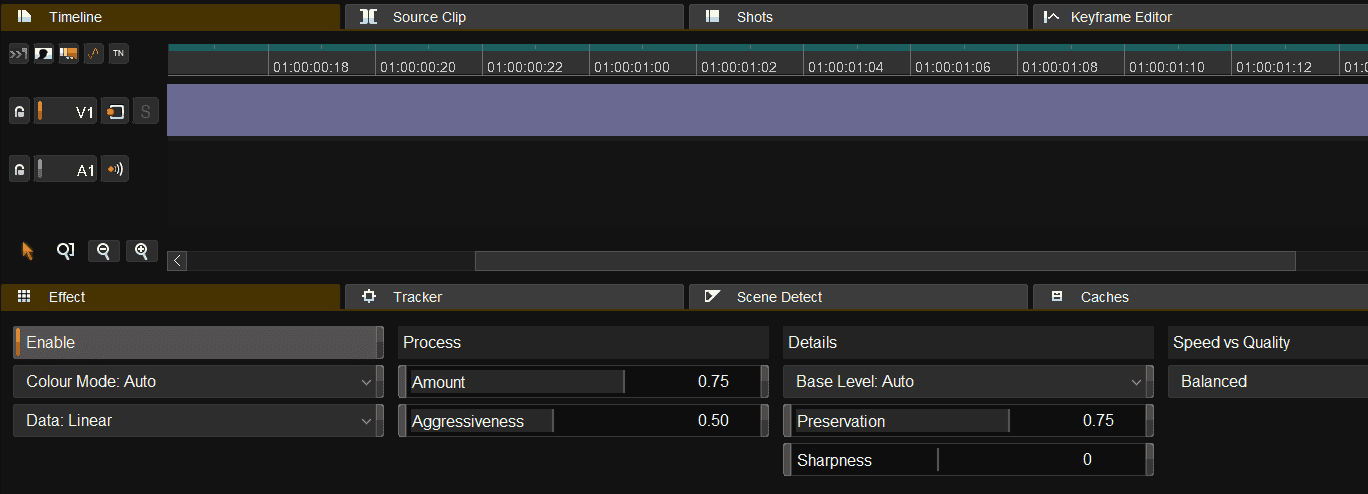
In the composition area there’s the Effect tab where you can see and change its parameters.

With (FN) “ctrl + F5” you can do a split view of tabs so you can have the timeline and effects panels separated and view both at the same time.
Rendering & Tasks Manager
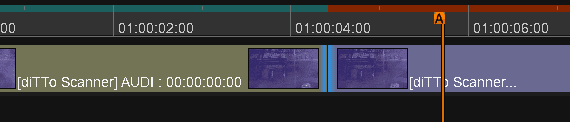
A segment with effects applied is shown in green or violet if the playhead is over it.
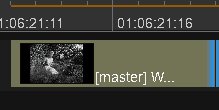
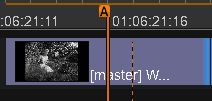
A segment that has an effect needs to be rendered and you’ll see a thin line on top of it. Rendered segments show a green line, while unrendered ones show a red line.
Automatic Render Controls
On top of the timeline there are some different options that will define how the effects will be rendered while you are working.

- FG: foreground rendering renders uncached images during playback. If you want to see the result you need to have it activated. If it’s disabled, playback of unrendered timeline areas will display grey as “not generated”.

- BG: background rendering, turn it off if you don’t want to cache right after. It will pause when a more important task is running. For example, if you play the timeline.
- PC: playback cache saves image cache to disk during playback, if you play and something is not cached it will try to cache it in real time.
- The Transition button enables the rendering of transition effects, like dissolves.
Tasks manager
When rendering, this process will be carried out in this section. But not only the render of applied effects is shown here. For example, if you are doing a Scene Detection it will also appear at the Tasks Manager.
To stop a render (or any other task) you should click the Library button at the left and the Tasks button will appear on top.
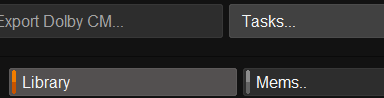
Click it and it will open the Tasks Manager window showing the rendering in progress.

Clicking on the Suspend button at the bottom will stop the task. But if you click it again it will resume the task. You can also delete it from the Delete Task button.

Comparison modes
If you click on the Play Output button on the right you can choose different sources of the clip you’re working on to display in the viewer. It’s very useful to compare the before & after of an applied effect.

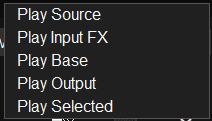
- Play Source: it’s the original footage. It’s useful for comparing the raw material against any applied effects.
- Play Input FX: shows the footage with any input effects applied.
- Play Base: shows the footage with the base layer.
- Play Output: displays the final output, including all applied effects and corrections. It’s the cumulative result of all adjustments, giving you the complete picture of how the final product will look.
- Play Selected: allows you to view only the selected effects or segments.
By pressing “Q” you switch the viewer between Play Source and Play Output.
“E” switches between Play Base and Play Output.
Notice that doing this does not delete the cache already done.
You also have other comparing tools in the Viewer Tools.
Viewer Tools
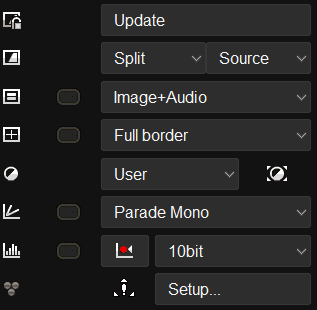
These are at the very right of the composition. You turn them on/off by pressing the icons. When they turn orange, it means they are activated.
Viewer Compare Mode

Turn it on and first select among the different types of comparing.
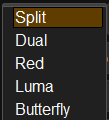
Then you select to what source you are going to do the comparison. This is related to what source you have selected in the Play Output that was explained before.
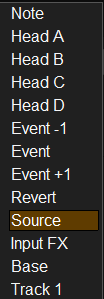
Split and Dual shows both selected sources. Split divides the viewer into two while Dual shows both images next to each other. Butterfly divides the viewer as in Split but the image will be shown mirrored.



Red and Luma show in red or in white what has been detected and corrected by the effect.


Short cut: (FN) “F6”.
Viewer HUD (metadata options in the viewer)

Here you can find some metadata controls that you can use to add to your viewer. The shortcut is (FN) “F7”.
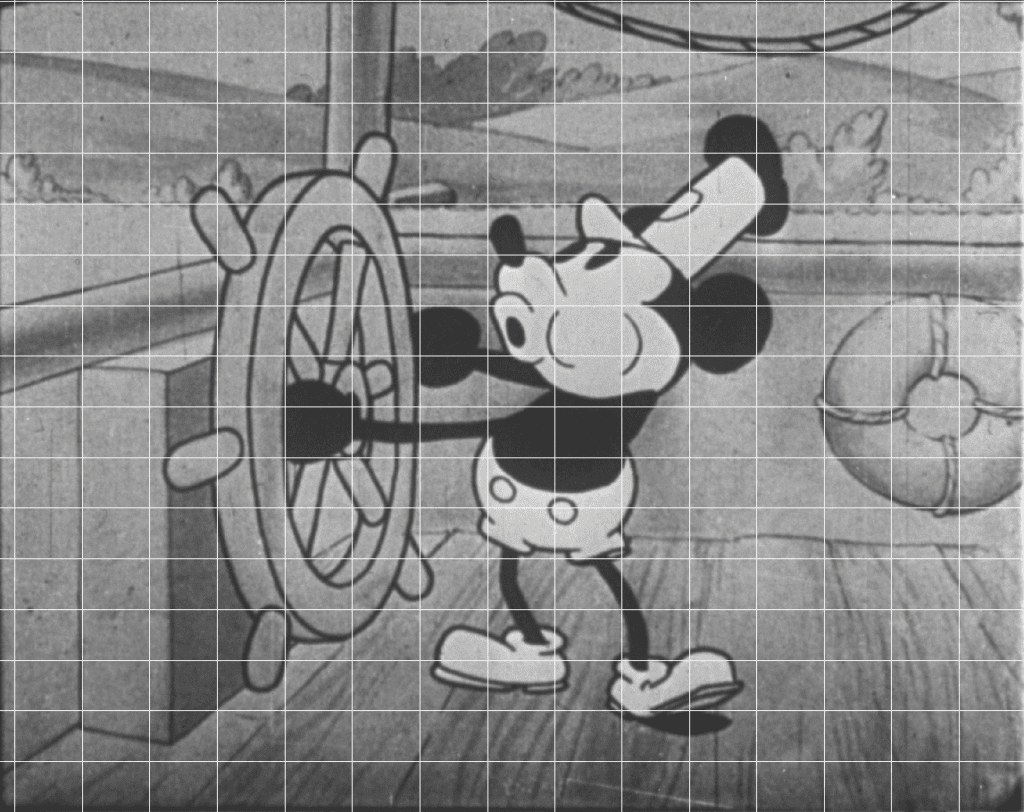
Viewer picture grid

This allows you to see, for example, how your image will work in a specific aspect ratio. The shortcut is (FN) “F8”. Also it allows you to use some grid, very useful when stabilising, for example centre grip or small grid.
Viewer picture mask
With the next tool you can do a mask. This adds black bars. You can create custom masks.

Scopes and curves
Viewing colour correction curves & viewing scopes tools

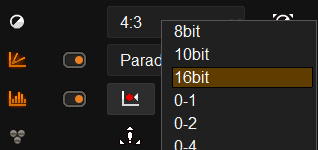
Activating these you’ll have different scopes options that will be next to the viewer.
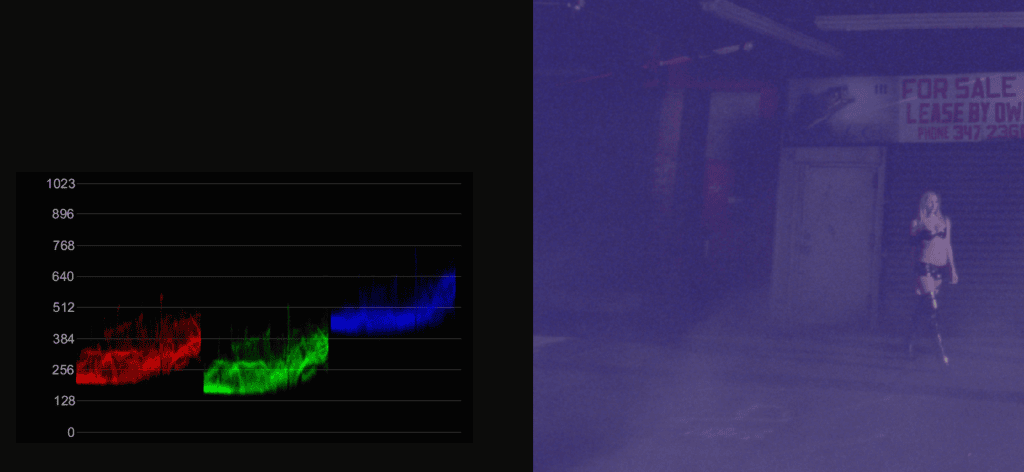
First you select the type of scope and then you can select how the scope will be presented. For example in 8 bits, 10bits and so on.
Viewer CMS (LUTs)

This allows you to turn on/off your LUT if you selected one in one of the outputs. But remember that the LUT must be selected while setting the project but not forced by clicking “Apply LUT”.

You’ll notice that a LUT is forced or not, depending whether the output name contains the word LUT; if it does, LUT is applied and forced, meaning you cannot deactivate it. If you don’t have the word LUT in the output name and you selected a LUT while setting the project you can turn it on and off.
That’s it for this step. I encourage you to try applying some effects and testing all these tools to see the before and after. Also check the Tasks Manager and see how your workstation is responding. You can do a Scene Cut Detection and then apply a DVO effect to see how it works.
See you in Part V,
C.