

Learning Phoenix with Catalina
Everyone Starts Somewhere follows Catalina in the process of learning Phoenix Restoration & Color from the ground up. With a background in film preservation and digitisation, she’s documenting the real-world challenges, discoveries and milestones of becoming a digital restoration artist. Whether you’re just starting out or refining your skills, we hope her experiences inspire you to begin (or continue) your own journey.
Download the free Phoenix trial today to get hands-on experience with the same professional tools used by archives, post-production facilities and restoration specialists around the world.
Catalina’s articles will hopefully give you a head-start – you can also Ask Juno for guidance on using Phoenix – Juno’s always there for 24/7 global support, any language, any time!
And you can follow Catalina in Pocket Films, alongside a host of global Providers who make films happen.
Phoenix Restoration – Scratches
Last time I told you about my first approach to removing scratches with DVO Scratch Target. Today I want to share another very useful tool that works alongside the DVOs: Shapes.
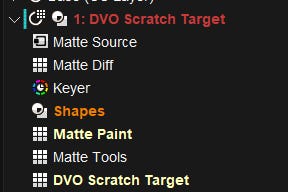
After doing one pass of Scratch Target for white scratches and another for black ones, I started looking for ways to optimise both the result and my working time. I realised that, in some shots, I was spending a lot of time with Matte Paint undoing what the DVO had wrongly processed: lines that were part of the image, not scratches. That’s when I started using Shapes, a tool I hadn’t tried until now. You can find it in the DVO’s dropdown menu, just like Matte Paint.
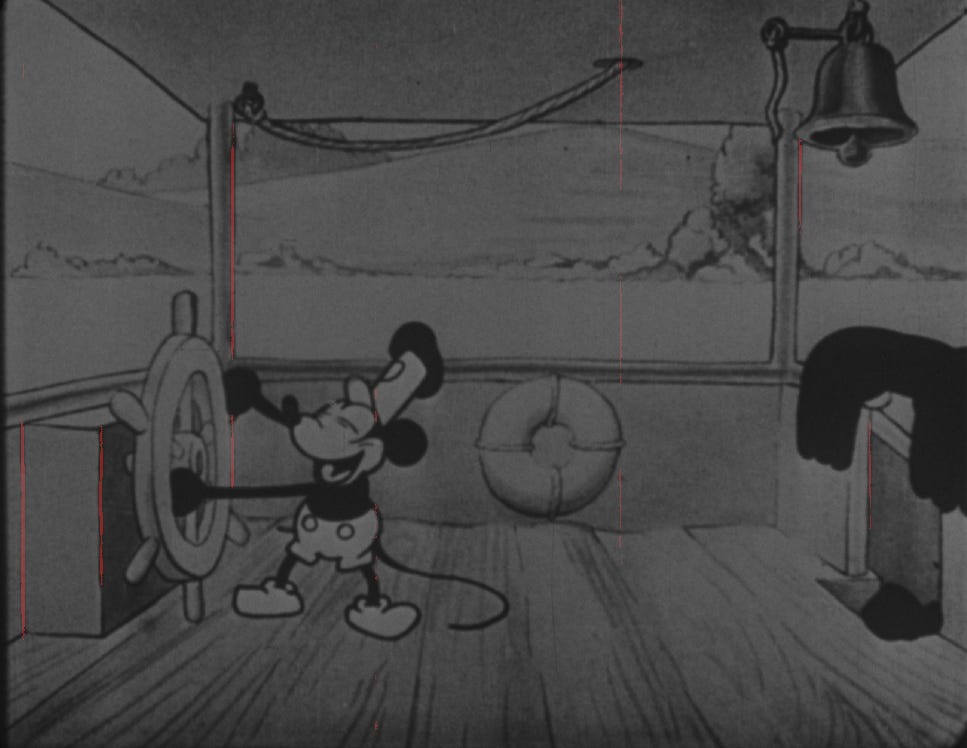
In some shots, when I switch the viewer to Red I can see lines that are constantly mistaken for scratches. They are usually the outlines of objects, and because this is an animation with strong vertical outlines, the tool confuses them even more easily. See this example, where there’s only one real scratch (the one in the middle).
Unlike Matte Paint, where you have to paint over each area manually, a shape is drawn once and stays fixed throughout the shot. Shapes are available in every effect layer and you can use as many as you need. There are four basic types: rectangle, ellipse, polygon and bezier. You can also soften their edges (inner and outer softness) so the effect blends in naturally, and if the area moves, you can animate the shape with keyframes.
In this shot, there was a whole area that was constantly targeted as a scratch while I was running DVO Scratch Target for blackscratches.
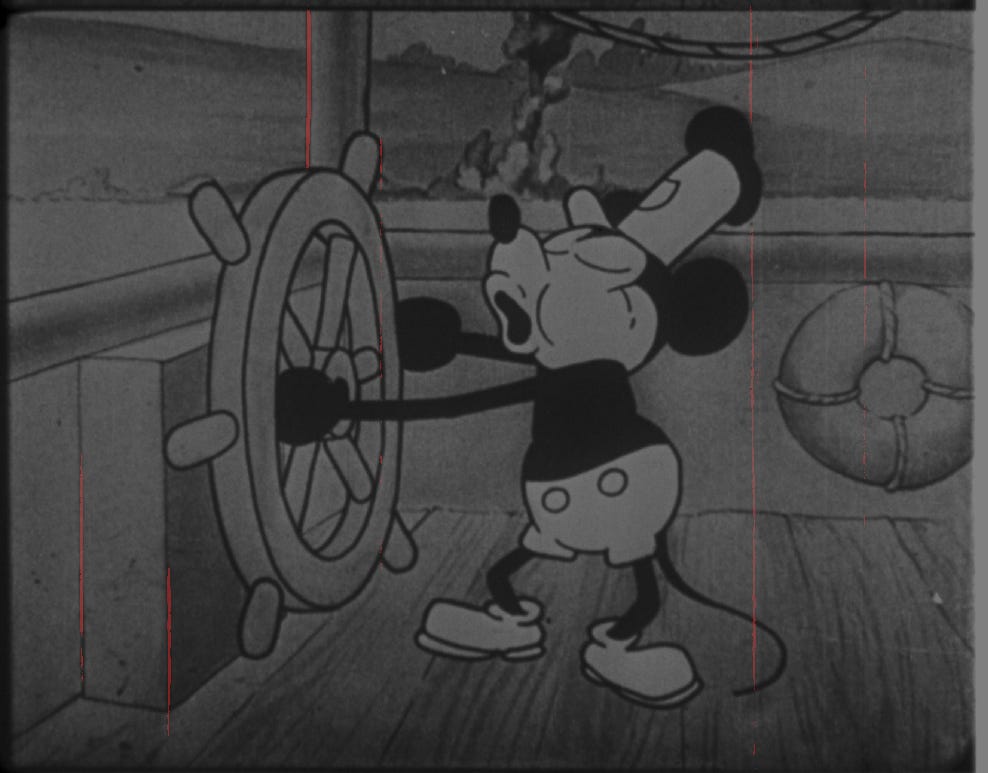
With a single inverted shape, it worked perfectly.
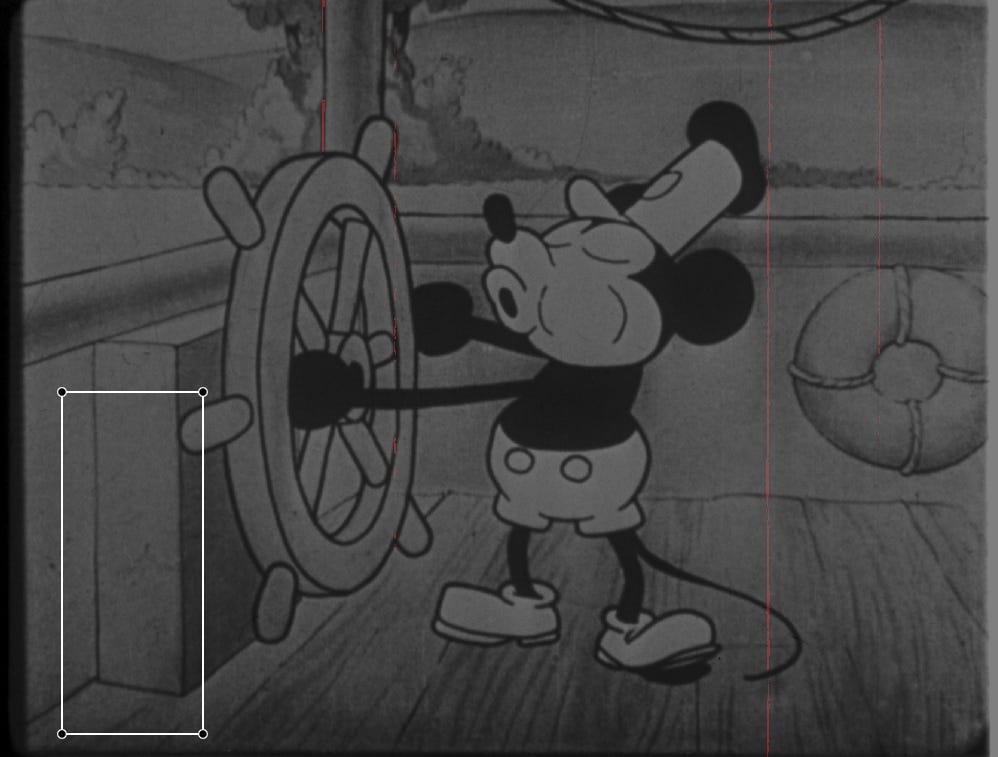
However, when I tried to create two rectangles (one for the upper area and another for the lower one), only the inverted one worked and the other seemed to have no effect at all.
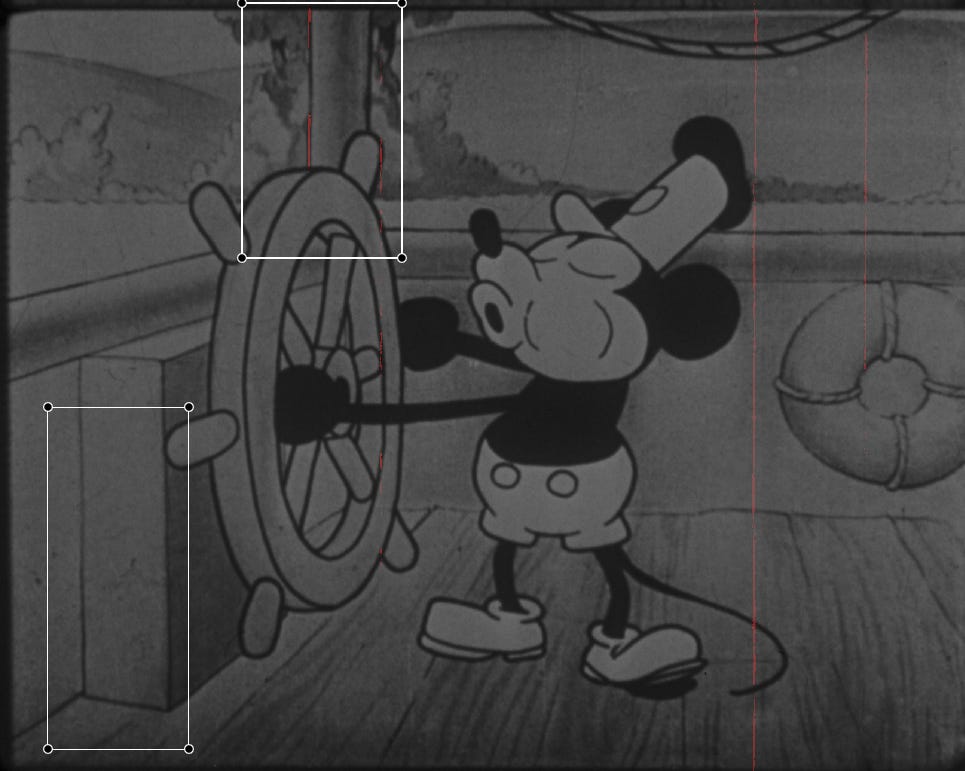
Since I couldn’t find a way to invert both of them, my first workaround was to draw a single bezier shape covering both areas.
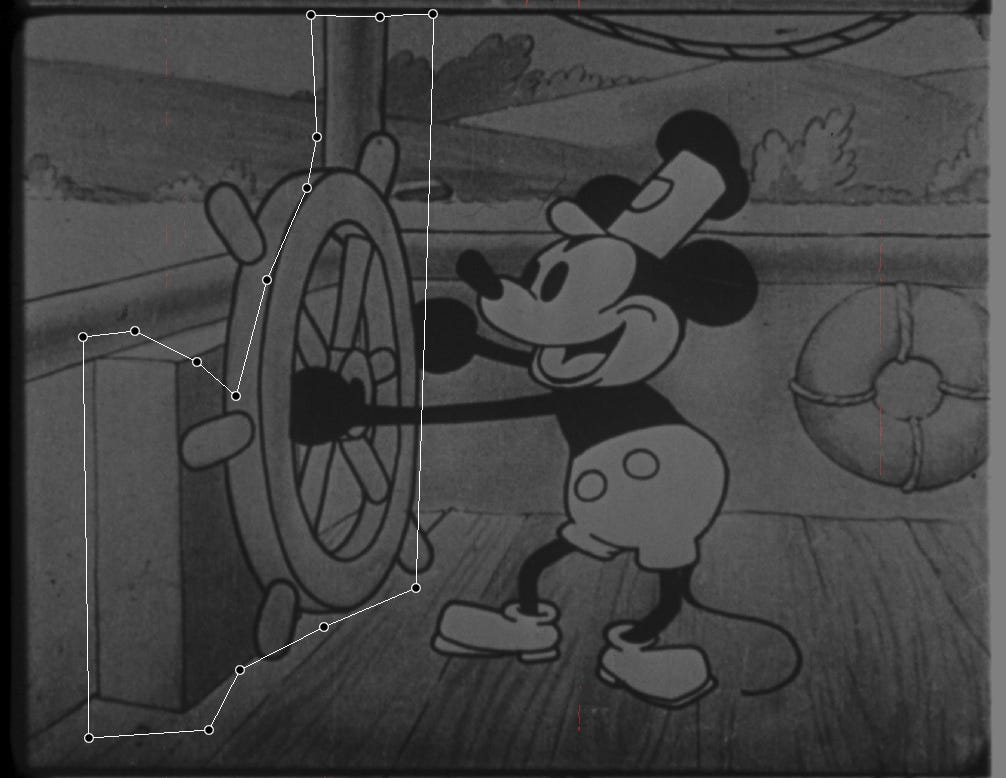
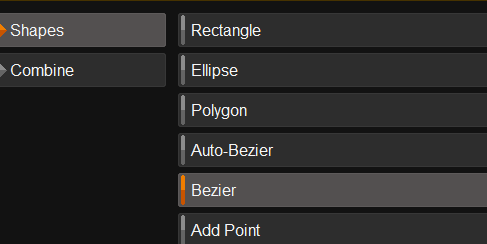
Then I found the right way to do it. First, create all your shapes (in my case, two rectangles) without inverting any of them. I’ll show you with another shot:
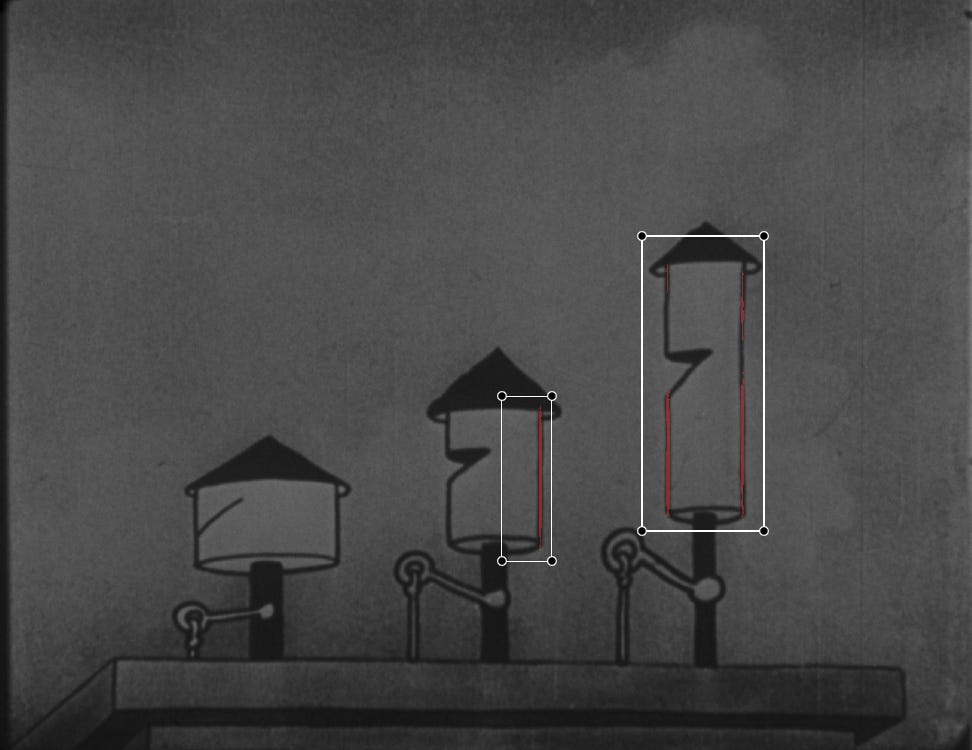
By default, shapes are not inverted, which means the effect is applied only inside them. So, with these two rectangles, DVO Scratch Target works only within those areas. But what I really wanted was the opposite: to leave these areas untouched. To do this, you must go to Combine (below Shapes) and activate Invert Shapes. This inverts all the shapes at once.
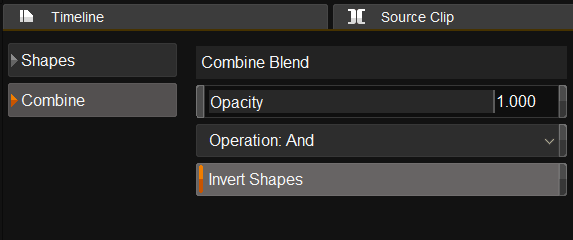
Tip: Don’t invert shapes one by one. Create them all first, then invert them together with Combine › Invert Shapes.
Shapes have saved me a lot of time, and they’re a tool I’ll definitely keep using. But I’m not done with DVO Scratch Target yet: I’m still exploring how its manual regions work, and I want to see how far it can go with scratches that aren’t vertical or don’t follow a clear pattern.
That’s it for this step. See you in the next one,