
Learning Phoenix with Catalina
Everyone Starts Somewhere follows Catalina as she learns Phoenix Restoration & Color from the ground up. With a background in film preservation and digitisation, she’s documenting the real-world challenges, discoveries and milestones of becoming a digital restoration artist. Whether you’re just starting out or refining your skills, we hope her experiences inspire you to begin (or continue) your own journey.
Download the free Phoenix trial today to get hands-on experience with the same professional tools used by archives, post-production facilities and restoration specialists around the world.
Catalina’s articles will hopefully give you a head-start – you can also Ask Juno for guidance on using Phoenix – Juno’s always on, wherever you are in the world, 24/7!
And you can follow Catalina in Pocket Films, alongside global Providers who make films happen.
Getting Started – Part II
Hi there! Hope you’ve had a chance to set up your preferences and start a project or two. Today we go deeper — importing media, organizing bins, and creating your first timeline/composition, along with some of the tools you’ll be using from here on.
Let’s get started!
Knowing the interface
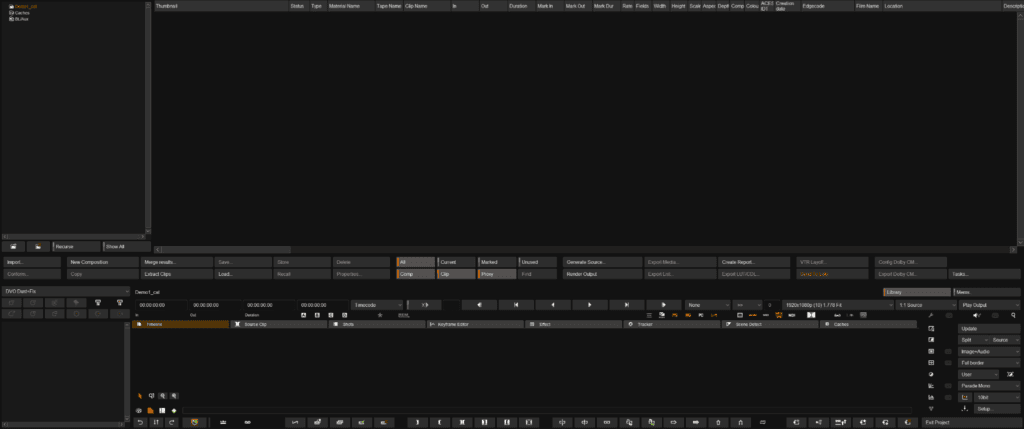
In this page there’s a top section which is the “Library” and it has two parts; the project tree on the left and the media list or content section on the right. In the middle sections there are several controls that allow you to manage your clips and below there are the playback controls.
In the bottom section there’s the effects tools and layers section on the left and the timeline tab and other tabs on the right. At the very right part there’s also some comparison tools.
If you want to see the bottom section bigger you press Ctrl + F2 (with some keyboards you must add FN key) and this maximizes the timeline view upwards.
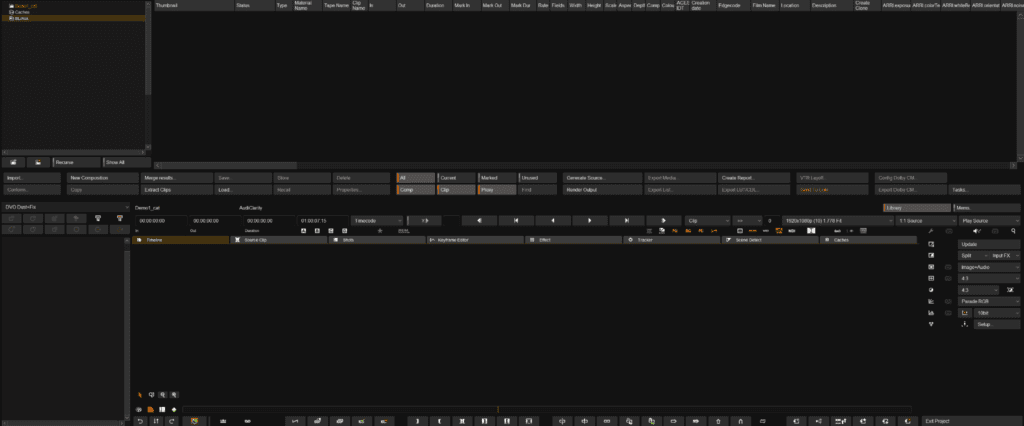
If you press Ctrl + F2 again you’ll see it even bigger and won’t see the Library.
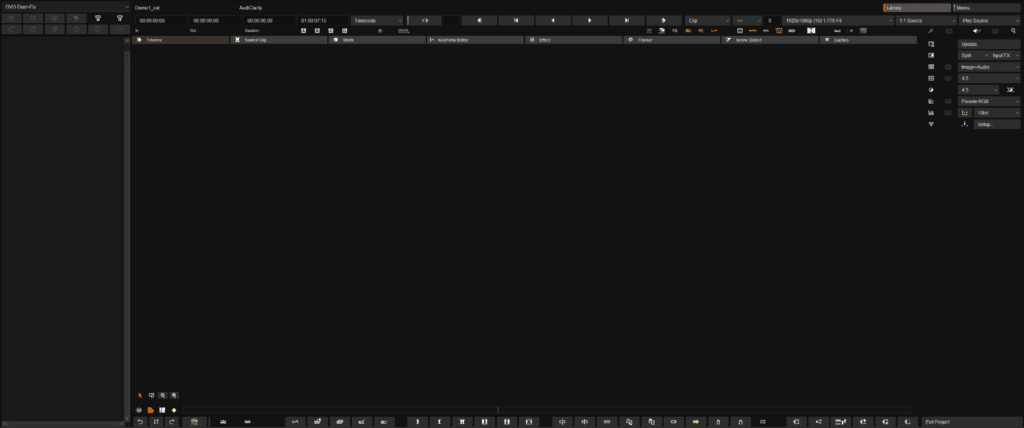
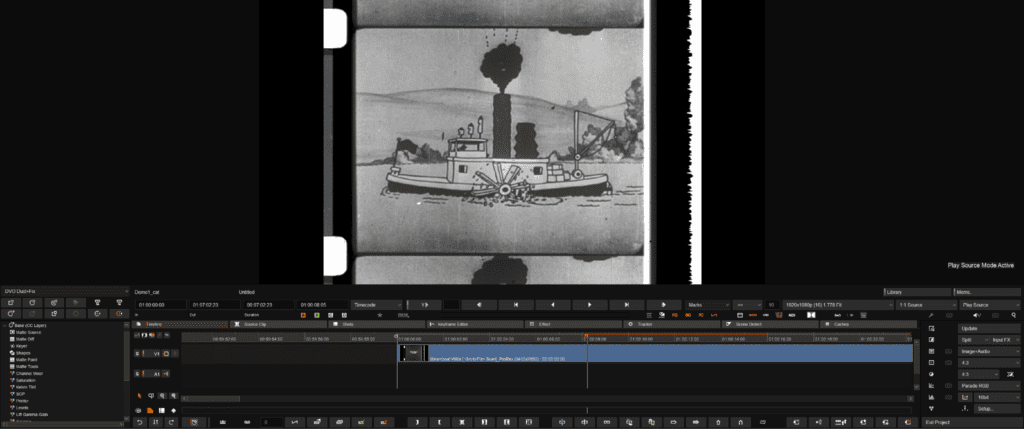
In the middle section there’s a “Library” button. When activated it shows you the top section as was described before but when deactivated it shows the viewer instead. You can also switch between Library and Viewer by pressing F1 (with some keyboards you must add FN key).

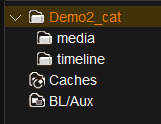
In Library mode at the left there’s the project tree where you can see the bin structure of your project.
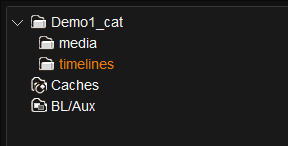
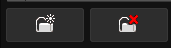
You can add or remove bins using the buttons below.
If you have media in different folders and you want to see all you got at once you can click on the “Recurse” button while being in the specific folder you want to see and it’ll show you everything that’s in the subfolders of your selected folder.

If you want to see everything you have in all the folders and subfolders click on the “Show All” button.
Next to the project tree you’ll find the media list or content section with metadata columns. With the mouse cursor in the middle line between the columns you can modify the width and if you click inside the column name and drag it you switch places among them.

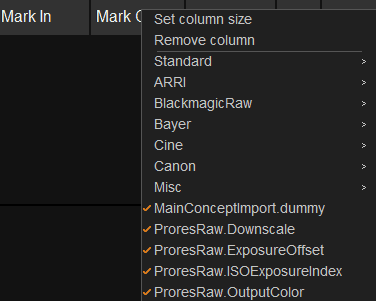
Also, double-clicking a column name opens a dropdown menu that lets you decide which metadata column you want to see and which you want to remove.
Importing media
Click the “Import” button on the left (below the project tree).
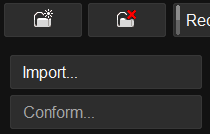
Remember: everything selected is shown in orange in all the interfaces. So if you have a bin selected the footage will be imported into that specific bin.
The “Import File” window will open.
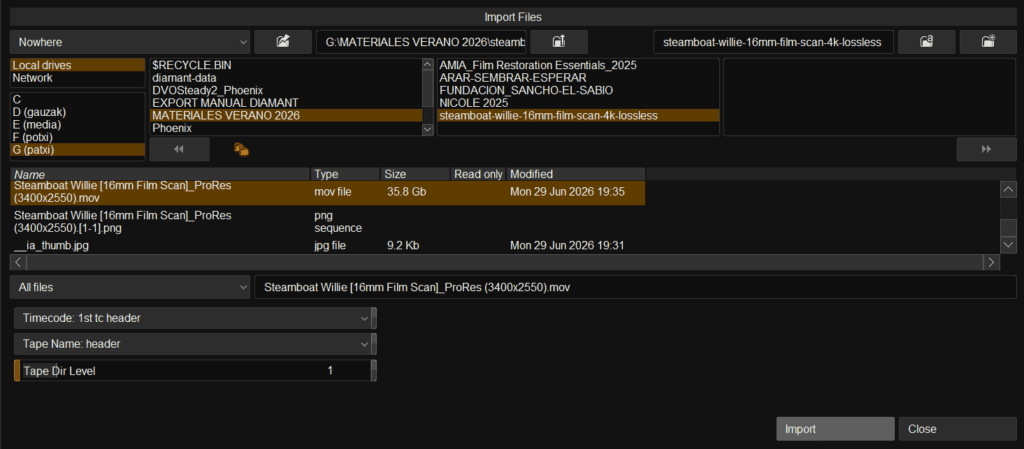
Find your footage and select the folder or the clip you want to import and then click “Import” at the bottom of the window. Note that after importing you have to close the window.
Before importing the footage you have some options in the bottom of the window:
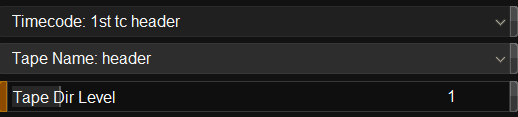
- Timecode: determines how the timecode is extracted from the media being imported:
- 1st TC Header: the first timecode header available in the media file (common for formats like DPX).
- 2nd TC Header: specifically for Red R3D sequences, this option uses the second timecode header.
- Filename: uses the numeric sequence in the filename as the timecode. This option will always start at 0:00:00:00.
- Tape Name: how the tape name is derived for the imported media. You can extract the tape name from:
- Header: some file formats (like DPX) contain metadata that includes the tape name.
- Filename: The tape name can also be derived from the filename or the containing folder name.
- XML sidecar.
- Tape Dir Level: determines which folder level to use when extracting the tape name from the filename.
- Level 0: The name of the file itself.
- Level 1: The name of the containing folder.
- Level 2: One folder up from the containing folder, and so on.
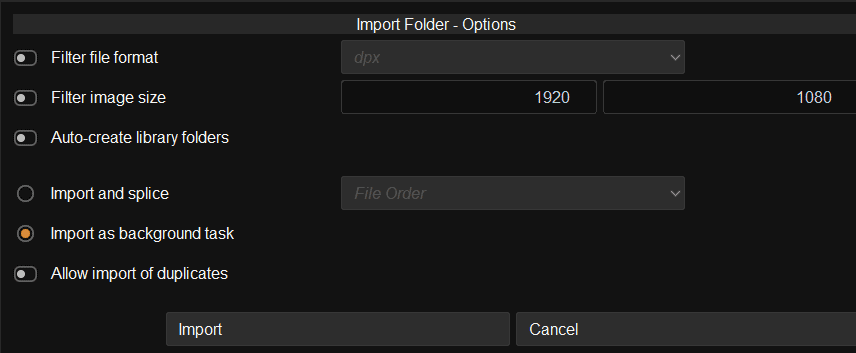
In case you want to import a folder you select it and an extra window with some specific options will open before importing.
Content section: clip management
Here you can now see your imported clip and its metadata.

Just by moving the mouse cursor upon the scrollbar below the clip (don’t need to click it) you can see a preview in motion and if you click at any point, that becomes the new thumbnail.
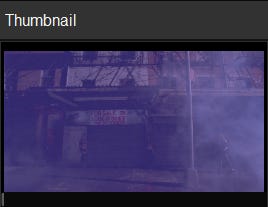
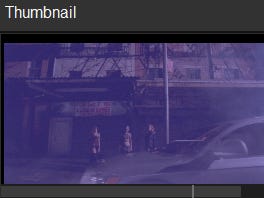
Here is how you see different content in this section:
- In the first picture there’s footage with audio and you can see them separately.

- And in this second picture there are two timelines and a silent clip. Notice that timeline’s icon is a film reel.

If you created bins after importing or wish to reorganize your content you can drag and drop clips to the bins in the project tree.
Right below this section there are some filter buttons that you can use to show or not show certain elements.

- All: it shows all the elements in the content section (clips, timelines/comp, proxies).
- Current: it shows only the current clip you are working on in the timeline (where it’s the playhead parked).
- Marked: clips that are marked in the timeline (for example, where there’s an in/out point).
- Unused: the ones that there’re not in any timeline.
- Comp: will show only the timelines that you have created.
- Clip: only the imported clips.
- Proxy: shows proxies if you have them.
- Find: finds the selected clip or timeline in your project.
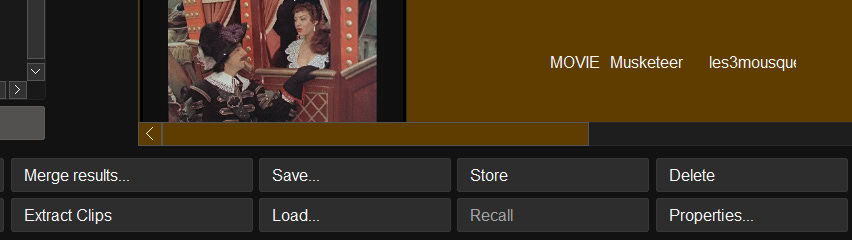
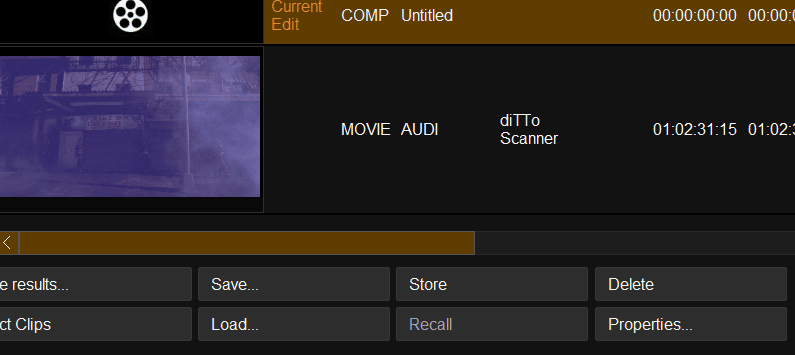
Having your clip selected you can do some other actions with the button below on the left like delete it or see its properties.
Creating a new timeline (composition)
In the Phoenix environment timelines are called compositions because a composition is a bigger structure that includes a timeline, but also shots, effects (after you applied them), and more elements you can see on the tab section below.

To create a new one you click on the “New Composition” button next to the “Import” button on the left.
This action creates a new composition which will also appear in the top section along with the imported media.
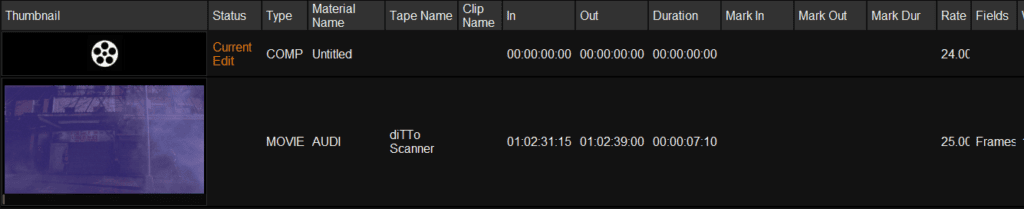
To change its name double-click in “Untitled“ below “Material Name” and write the desired name. You can also use “F2” (with some keyboards you must add the FN key).
In “Status” you’ll see “Current Edit” on the composition you are working on at the moment.
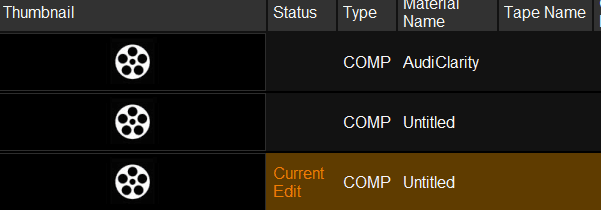
To delete it you either right click and select “Delete“ or you click on the “Delete” button below the content section while having the composition selected.
You can select several timelines or clips in this section using ctrl + click for separate clips or compositions or shift for the ones that are next to each other.
To open a timeline double-click it and it will open in the bottom section. Now that the timeline is loaded, you can use the mouse wheel to zoom in/out the timeline and there’s also a scrollbar at the bottom. By ctrl + shift + dragging the empty video track you can change its size.
On top of the timeline there’s some practical information. First it’s the project’s name, then the timeline’s name and below there are: in point, out point, duration and the exact point where the playhead is located.

Notice that you can have more than one playhead (A, B, C and D) and by clicking on them you’ll see where they are positioned in the timeline.
01:00:00:00 it’s the beginning of the timeline and it’s the starting position of the playhead.
If you have In/Out points marked, ‘Duration’ will show the length of the selection, not the whole clip.

Add media to the timeline
Select the clip in the content section and then you have two options:
- B: will overwrite the clip.
- V: will insert the clip.
Once you have a clip in the timeline you can use zoom in/out just like before.
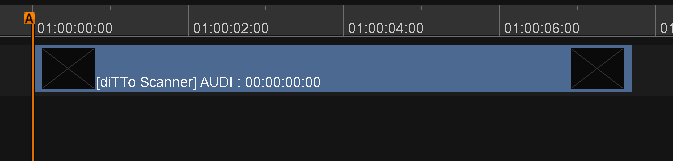
By pressing “F” you will fit the clip into the timeline space.

On top of the timeline, right in the middle there’re the playback controls.

You can also play forward, backward and stop with JKL (backward, play/stop, forward) and play also with space bar.


Go to the beginning of the clip in the timeline by pressing the “Home” key on your keyboard and go to the end of it by pressing “End”.
The “None” button is the “Loop”. You can choose between no loop, looping the clip, the frame or between marks.
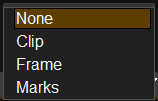
The next button is the Loop mode:

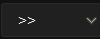

When you choose “Frame” in the first button, after selecting the type of loop you can decide how many frames you want to be in the loop by setting a number.

Viewer
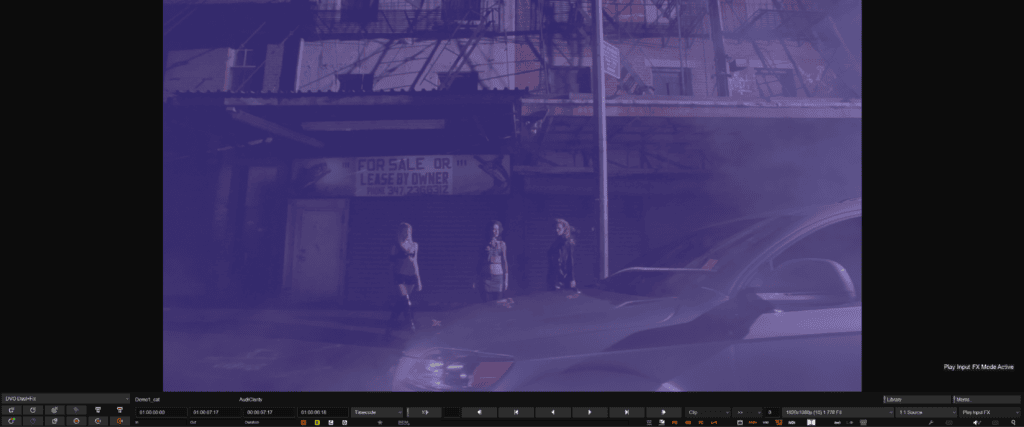
If you only have one monitor to see the film you should deactivate the “Library” button to see the viewer. That means that in order to see the footage in a monitor you stop seeing the library with the content information (shortcut F1).
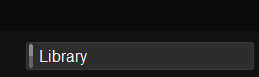
Below the “Library” button you can see the different outputs created before and select them to watch on the viewer.
Note: everything in the interface is context sensitive. For example, if the mouse cursor is over the image when you scroll the wheel the viewer will zoom in/out. If it’s over the timeline it will zoom in/out the timeline. And also, the shortcuts will work wherever the mouse cursor is resting.
To zoom in/out you can also use “+” and “–” keys. Also in the viewer you can fit the image by pressing “F” and if you press “G” it will do a 1:1 fit. For example if the content is 1080 with “G” it will do a fit of 1080 within the space of your screen and if you press “F” it will do a fit of 1080 within the space of the viewer.
By ctrl + tab you switch to full screen with controls below the viewer. If you only press tab you’ll see the viewer in fullscreen with no controls.
That’s it for this step! Now you’re ready to import some footage, decide how to structure your project, create a timeline and start to try its playback controls. In Part III I’ll go deeper into timeline controls and other tools.
See you in Part III,
C.