
Learning Phoenix with Catalina
Everyone Starts Somewhere follows Catalina in the process of learning Phoenix Restoration & Color from the ground up. With a background in film preservation and digitisation, she’s documenting the real-world challenges, discoveries and milestones of becoming a digital restoration artist. Whether you’re just starting out or refining your skills, we hope her experiences inspire you to begin (or continue) your own journey.
Download the free Phoenix trial today to get hands-on experience with the same professional tools used by archives, post-production facilities and restoration specialists around the world.
Catalina’s articles will hopefully give you a head-start – you can also Ask Juno for guidance on using Phoenix – Juno’s always there for 24/7 global support, any language, any time!
And you can follow Catalina in Pocket Films, alongside a host of global Providers who make films happen.
Phoenix Restoration – Cleaning part 1
Hi there, how was stabilisation? Today I wanted to start with the cleaning tools. As I said before, there isn’t one way to approach the footage and its damages. I think that every film has its particularities and also, our goal could not be the same from one project to the other. But I’m sure that experience helps us to better analyse each film and situation and to recognise in the film we’re working on things that we solved before.
When it comes to this part of the job, there’s a lot going on in a film, and what we call “dirt” can take many different forms — dust, spots, stains, blotches, specks — especially in old footage or footage that wasn’t stored in good conditions. So, in this section I’ll show how I approach this first cleaning pass using DVO Dry Clean, and what I want to clean at this stage versus what I want to leave for later.
1. DVO Dry Clean: first auto pass
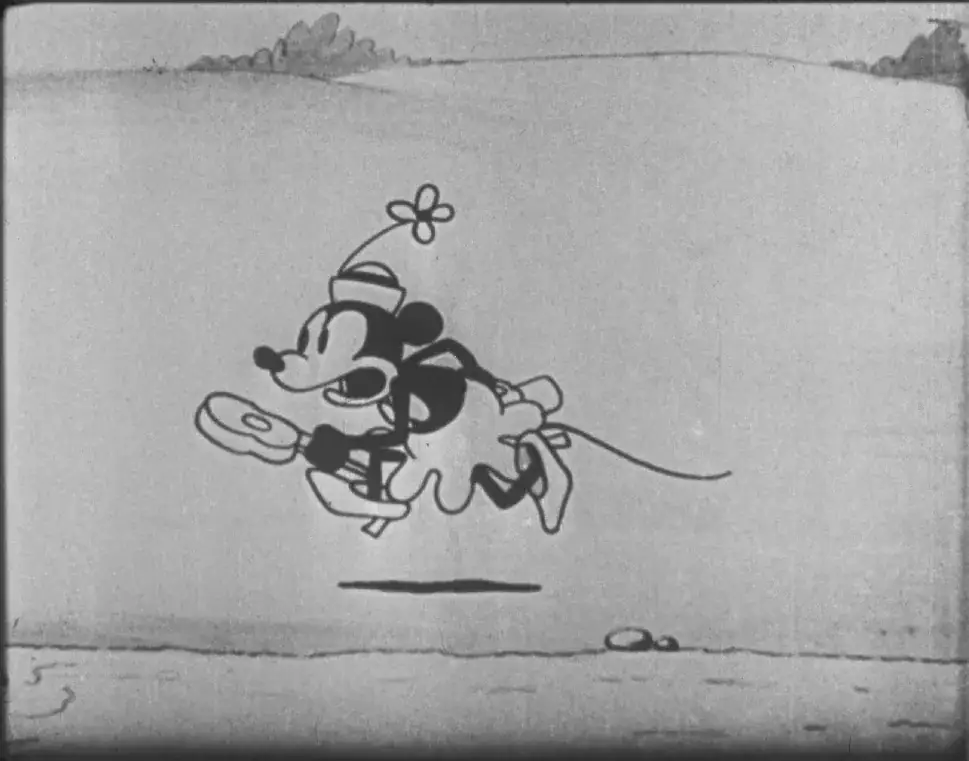
After finishing stabilisation, I started working on cleaning the image. This film is a positive print, and it looks like it went through a lot of projection, since it’s very dirty. So my first decision was to perform a first auto pass of DVO Dry Clean, to remove dust, tiny dirt, blemishes, and other visible imperfections. But in this step, I didn’t want to deal with bigger stains, damage, or scratches — except for small, random ones. I wanted to remove the kind of dirt and imperfections that are constant and distracting to watch.
In video track 2, I added an adjustment layer and applied DVO Dry Clean. The first thing I did was try this tool with different parameters, starting very lightly until I was happy with the result. This meant it took out a considerable amount of dirt, but without creating any artefacts, and without turning the image into something that looked plain, clean, and digital-looking. My goal isn’t a polished, artificial-looking image — I don’t want to erase all its texture or dirt, since to me, those are traces of its history.
I lowered the Strength and Aggressiveness to half and raised Temporal Safety which prevents false positives where unexpected objects that are not dirt appear or disappear from the image.
My workflow was applying the tool to a shot and then seeing how it worked shot by shot. I played it in real time with the red comparison mode on and off, to be sure there weren’t any artefacts.

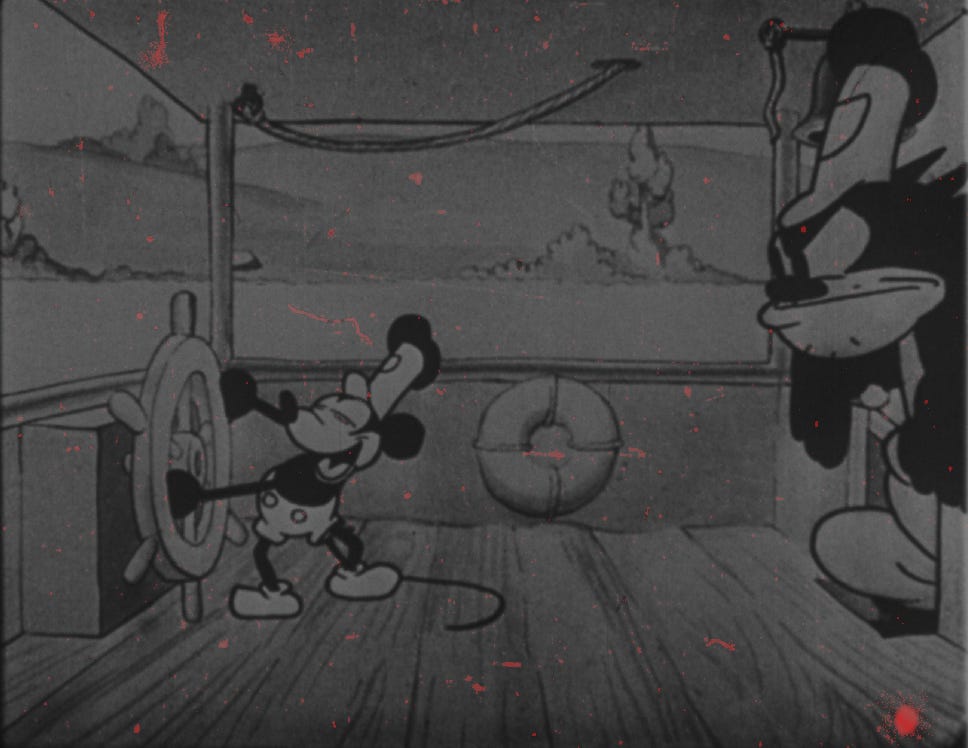
I kept switching between this red mode and toggling between Play Output/Play Source, because what you see in red isn’t necessarily removed.


Here’s the kind of result I got (before on the left, after on the right).
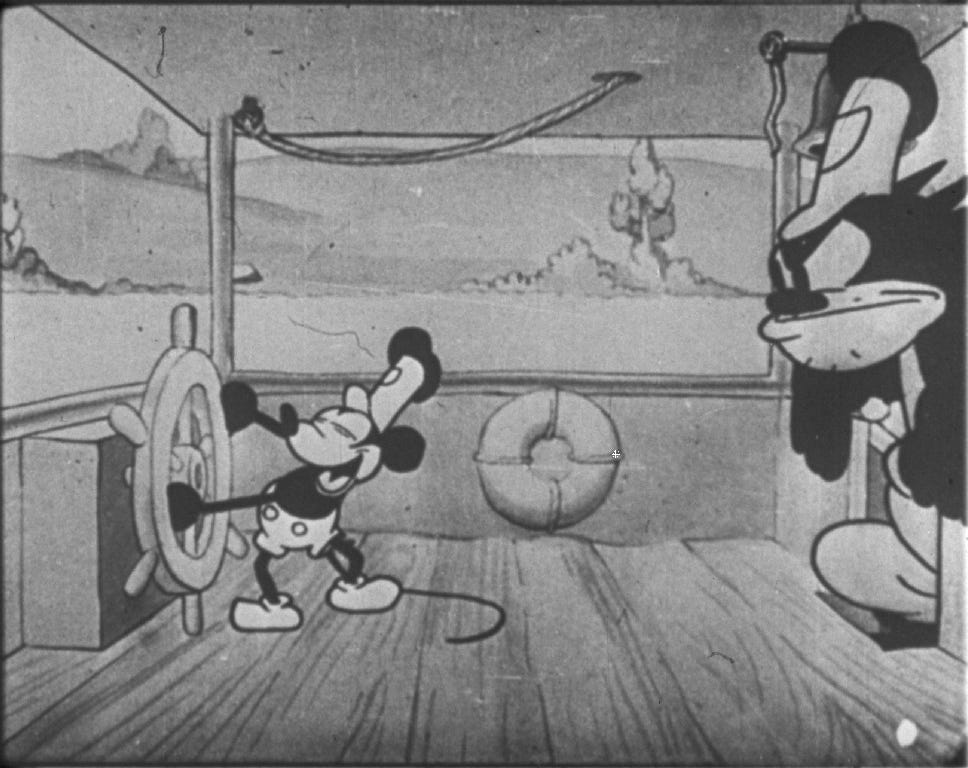
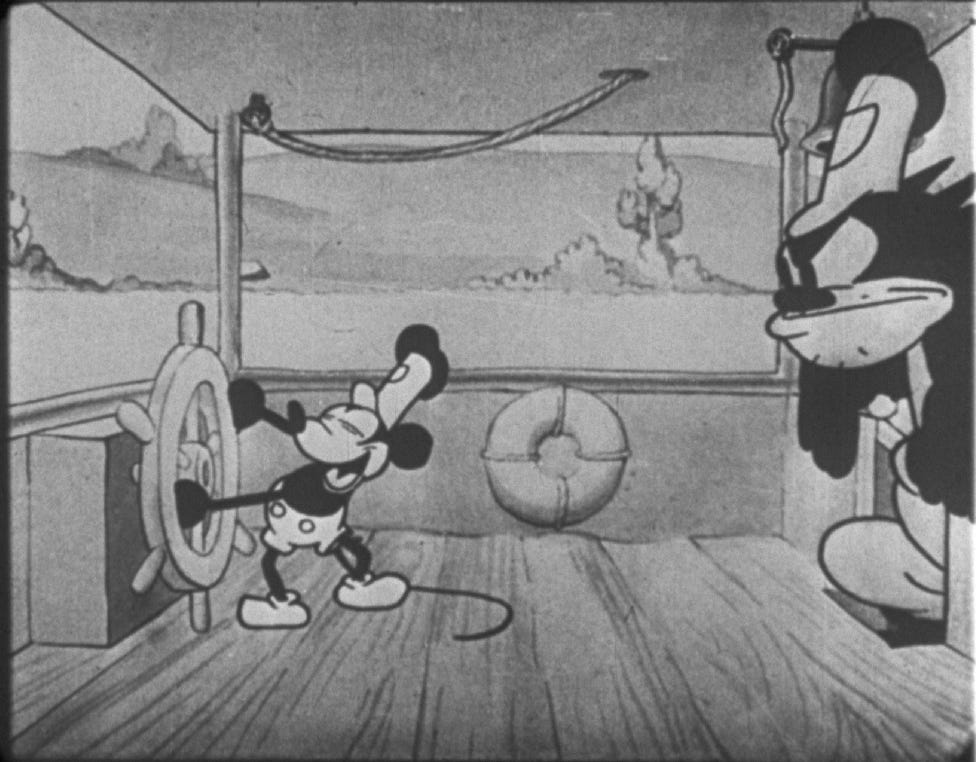
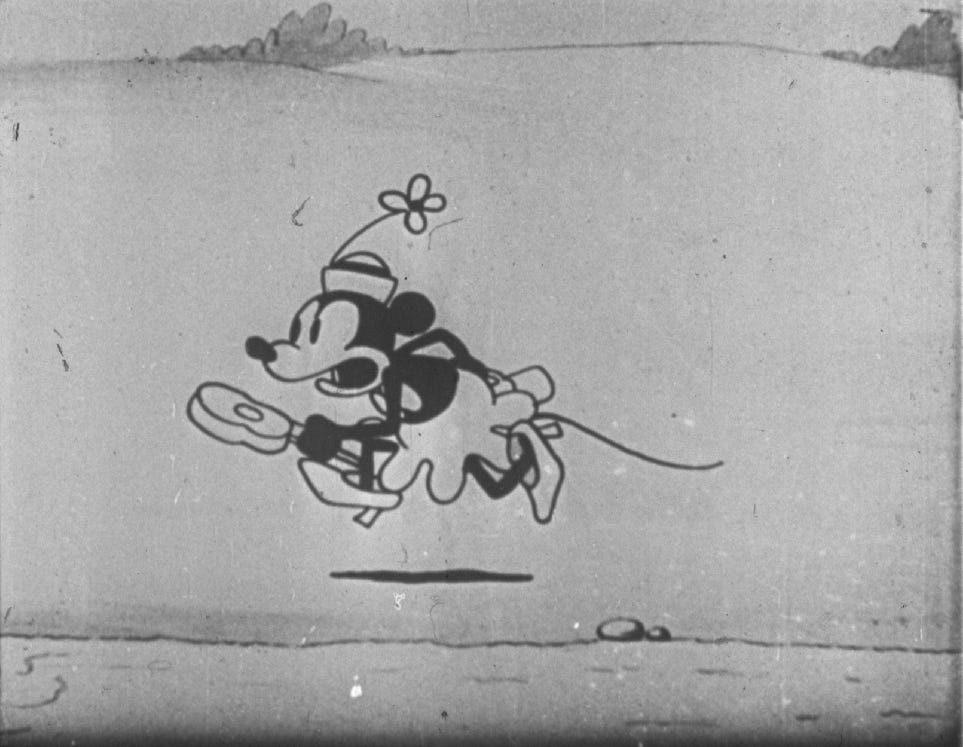
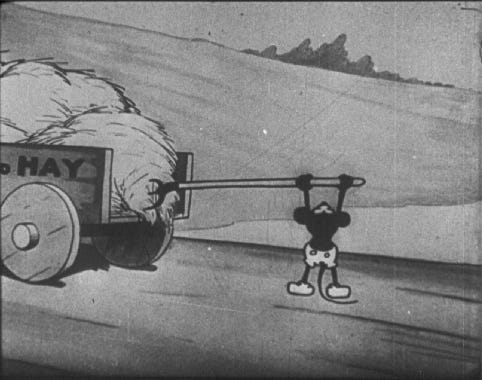
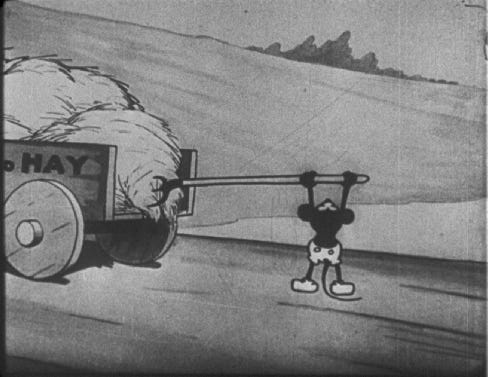
I think it’s very important to watch the footage several times in real time, because that’s how people will actually watch it, and working frame by frame can sometimes make you lose sight of the original goal. There were moments when I wanted to remove everything I saw (going frame by frame), but then I remembered that perfection wasn’t the goal, nor was a completely modern-looking image. The goal was to make imperfections less distracting.
2. DVO Dry Clean: recovering with Matte Paint
While going through the dry-cleaned footage, whenever I saw an artefact, or something that had been removed but shouldn’t have been, I recovered it using the Matte Paint tool from DVO Dry Clean in the Effect Tree.
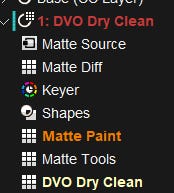
To recover with Matte Paint, the tool must be set to Inverted (which is the default).

I used both Brush and Rectangle. I preferred Rect, kept very small, with a bit of softness — not too much, since the more softness you add, the bigger is the cleaned area.
This is an example, but the settings weren’t fixed — I kept adjusting size and softness depending on the shot.

While using Matte Paint, I made some decisions about the dirt I wanted to clean: If DVO Dry Clean detected a long or big scratch, or if big dirt was detected but only partially removed, I recovered it to deal with later. As I said before, I didn’t want scratches to be cleaned in this step, except for short ones that went in no clear direction (meaning they weren’t vertical or horizontal).
Hope you can try DVO Dry Clean and see which settings work best for you. If you try this same film and want to share your experience with me, drop me a line — I’d love to know how you start cleaning your footage.
That’s it for this step. Next, we’ll continue with cleaning, and we’ll look at manual cleaning!
See you in the next one,