
Learning Phoenix with Catalina
Everyone Starts Somewhere follows Catalina in the process of learning Phoenix Restoration & Color from the ground up. With a background in film preservation and digitisation, she’s documenting the real-world challenges, discoveries and milestones of becoming a digital restoration artist. Whether you’re just starting out or refining your skills, we hope her experiences inspire you to begin (or continue) your own journey.
Download the free Phoenix trial today to get hands-on experience with the same professional tools used by archives, post-production facilities and restoration specialists around the world.
Catalina’s articles will hopefully give you a head-start – you can also Ask Juno for guidance on using Phoenix – Juno’s always there for 24/7 global support, any language, any time!
And you can follow Catalina in Pocket Films, alongside a host of global Providers who make films happen.
Phoenix Restoration – Stabilisation
Hi there! Have you been practising or trying some DVO effects?
I’ve been using, among others, the animated film Steamboat Willie, scanned by Reel Revival Film, which I got to know by watching Fabio Bedoya’s tutorials.
I’m trying to do a complete workflow of the whole film, going step by step and applying and comparing Phoenix’s tools along the way. Today I’m going to tell you about my approach to stabilisation.
Knowing the footage
What I first did was look for the technical details of the footage to set up the new project properly. For this I used the open-source program MediaInfo.
Once the project was set up, I imported the media and created a new timeline. I ran the scene cut detection and checked the cuts while watching the content and its issues.
Analysing the film, I noticed the following: the film’s unsteadiness could come from a previous generation, because watching the perfs, I think the digitisation itself is steady. It’s also very dirty — there are scratches too, but dirt is the dominant issue. There are some hairs and at least one visible fingerprint. An important detail I noticed, which may be common in animation, is that important lines — such as a character’s outline, or elements such as an ear or a tail — sometimes disappear from one frame to the next. This could make you think it’s an artefact generated by the restoration tools. It also has a lot of flickering.


I decided to start with a DVO Flicker pass. I know that most of the time the first thing to do is put the pixels in their correct position so that other effects work better, but in this particular case, I thought the light fluctuation was significant enough that I wanted to start by softening it. I didn’t remove it entirely, because my goal isn’t to create a modern-looking image — I just wanted to soften the defects so the viewing experience is less distracting.
Stabilisation
The next step was to try and choose the stabilisation tool that works best for the material. In these months of learning, I’ve been using and experimenting with DVO Steady 2 and DVO Frame Lock. At first, I read their user guides in detail (which you can find here), wanting to know exactly which one I was going to apply in each footage. But what I’ve been learning is that even when a tool is designed for a specific defect or issue, it won’t necessarily work the same way twice — you often have to test what works best and spend time doing these tests before moving forward with the rest of the shots. So now, I’m going to tell you about my attempts with stabilisation. Here’s what I did:
I first tried Frame Lock because this footage was overscanned, but it wasn’t doing anything. I was a little sceptical about Steady 2 in this case, because in my opinion it’s more affected by movement within the scene — whether that’s character movement or camera movement — and I don’t want to eliminate any movement that was originally in the film.
After trying both tools and changing their modes, I noticed that while the scan itself was steady, the image inside had a slight vertical jump — most visible on fixed elements and like horizon lines. Applying Steady 2 mostly in Centre-Weighted mode made the jump much less noticeable, without removing the original movement I wanted to preserve. I also used Border-Weighted mode in two shots with complex inner movements.

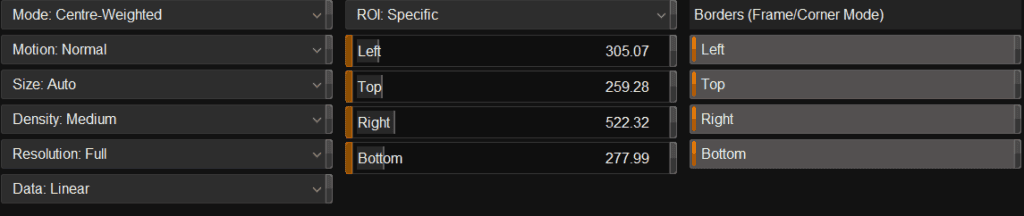
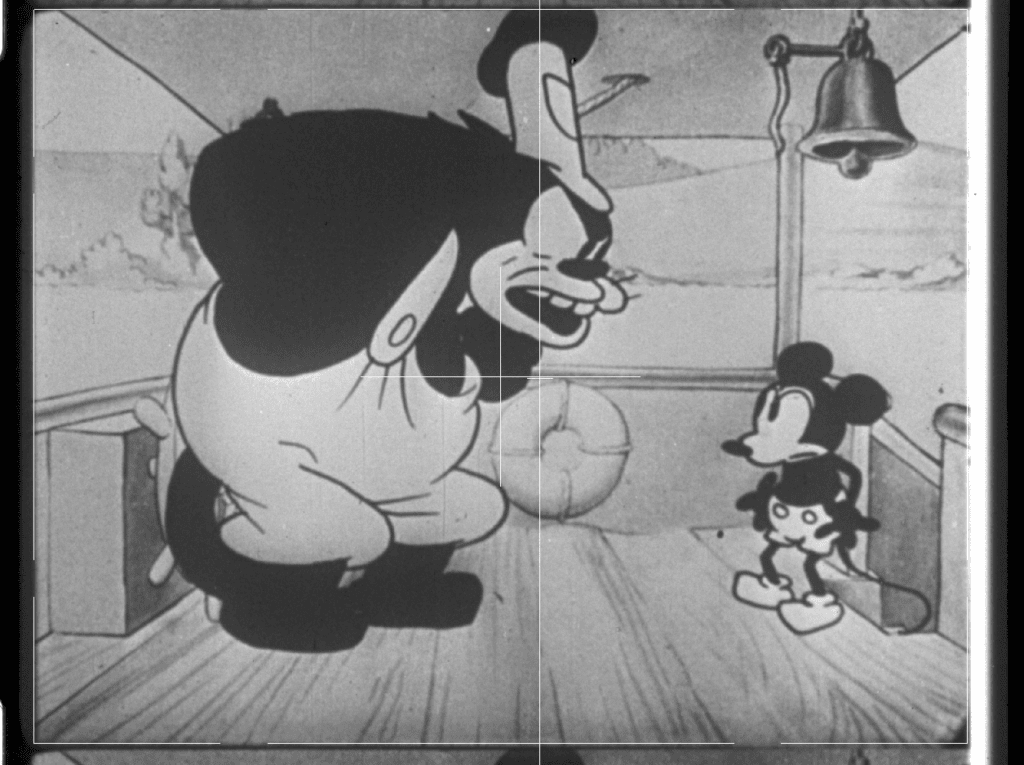
ROI was adjusted to just the inside of the frame edge.
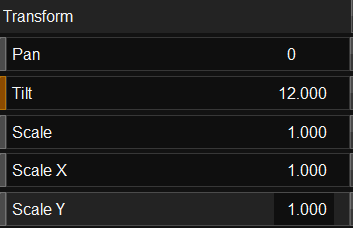
In the last shot there was a splice in the middle of the shot, so I had to cut in for stabilisation to work properly. But the second cut made a leap upwards. To solve this I adjusted this cut manually with the Transform control from Pan Scan from the Effect Tree (inside Master). I only pulled the Tilt down a little bit.
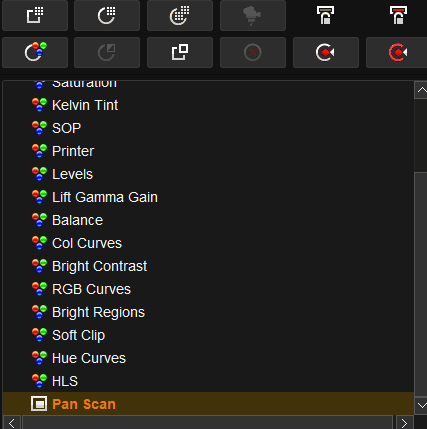
To apply Steady 2 with the same parameters to the rest of the film I saved it as a preset in Notes. Next I’ll show you how. Although I applied the same preset to every shot I went one by one adjusting the ROI to that particular scene.
Notes
When an Effect works quite well on a shot and possibly it will work well on the others, you can save it as a preset in Notes and then you can just apply it from there.
To create a note, select the clip that contains the effect you’re happy with, and go to “Mems..” → “Notes”, then click the “Store the current note” button. You’ll see your note created.

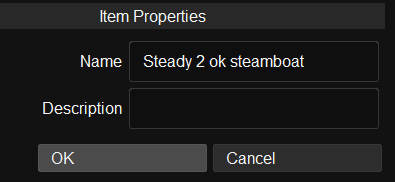
To name it, go to “Props…” and enter the name. With the button next to it, you can delete it.
To apply a Note to a shot, first select the shot, or make sure the playhead is positioned in that segment. Then, in the Note Panel, select the note, and the Effect Tree for that note will open on the right.
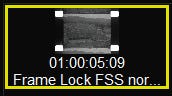
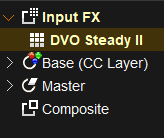
Select the effect you’re going to apply in the Effect Tree, and be careful — if you already have other effects on the clip, applying the note can overwrite them and you’ll lose your work. To avoid this, a good practice is to always use the “App” button (Append).

Sometimes you have to apply the same effect more than once, yet with different settings. For example, you do a first light pass of DVO Dry Clean and then you want to do a second one. In this case, you’ll have two DVO Dry Clean effects in the Effect Tree, and if you need to change one, it might be difficult to recognise which is the light one and which is not. So, a good practice is to rename the effect in the Effect Tree once you’ve applied the note.
Remember that to change names you press F2 (on my keyboard FN+ F2).
Notes usually go to your C drive, but if they’re not there, go to the Preferences Page → Project Storage, and you’ll see your path on the right.



Notes can be exported and imported into other projects. To share them, copy your Note Folder from your drive and send it to the person you want to share it with. To import them, copy the folder into your Notes Folder, and when you open Phoenix, you’ll see them there. If you don’t see them, just click the folder icon below.

From Phoenix you can move your note from one project to the other. Just select them in the Note Bank and drag them to the project you want.

Don’t worry because dragging just copies them, it doesn’t move them.
Hope you can play with Steady 2 and Frame Lock and draw your own conclusions. If you try the same film and want to share your experience with me, drop me a line.
That’s it for this step. Next, we’ll start doing some cleaning!
See you in the next one,
C.