
This is part two of a three-part introductory series to color grading by Chris Packman, Head of Grading at The National Film and Television School. This series of articles is intended for those at the beginning of their color grading training.
In Color Grading 102, we’ll be looking at grading footage from various sources, using an EDL, and using shapes.
To start, we’ll review what color errors to look for in your footage.
What to look for in an image
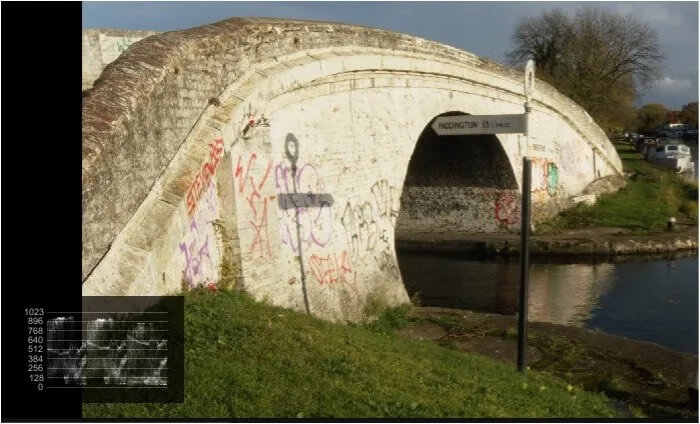
This is a well graded normal looking image. It can be seen in the parade display at the bottom that the levels of the colors are good and there is no crushing.
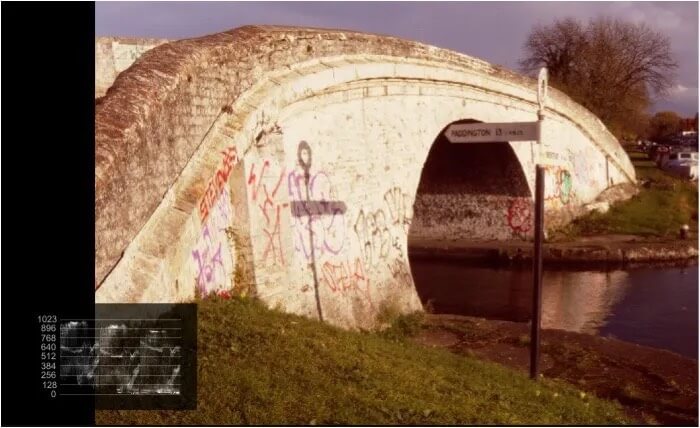
This is the same image with a Red color lift error. The lift error can clearly be seen under the Red signal on the parade display.
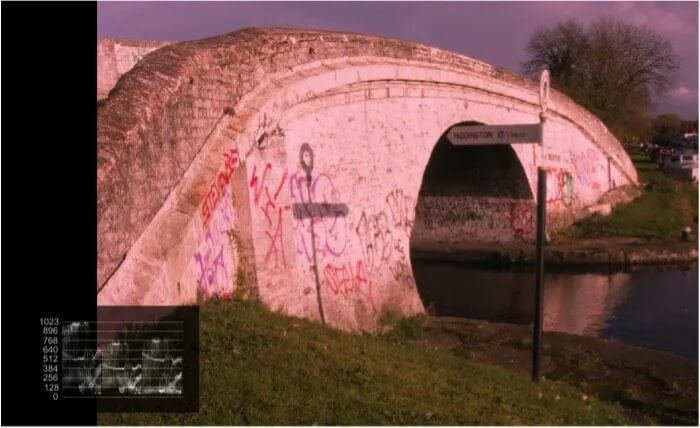
This is the same image with excessive red gain. The gain error can clearly be seen on the parade display.
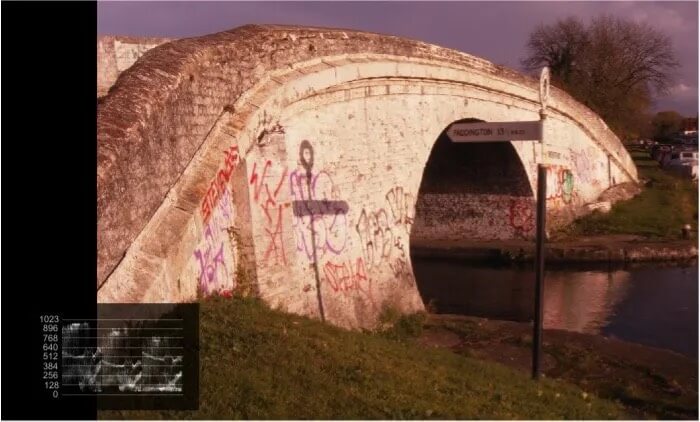
This image has a red color gamma error. Color gamma errors are the least easy to see on the scopes.
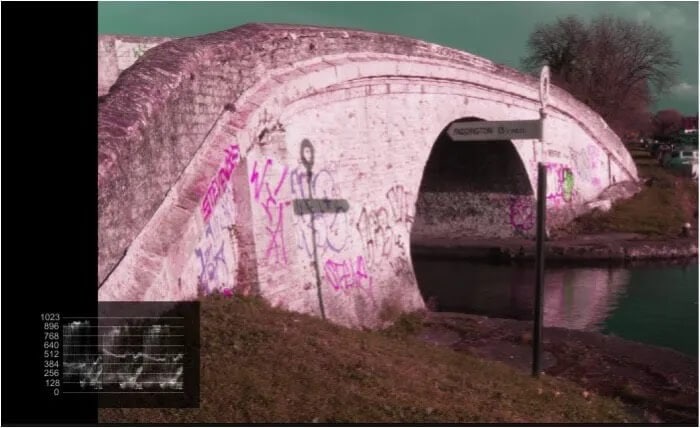
This image has a color hue error. Hue errors are common when dealing with ex 525 NTSC archive materials.
Grading is like building houses!
First you dig the foundations, then put up the walls, then the roof trusses and then put the roof on. Get it wrong and it all falls on your head!
First get your overall levels sorted using only the primary controls. Only when you have a good flat basic grade do you start to use the secondaries to deal with individual color problems. If you do not do this, you will find that your secondary keying comes apart when you start adjusting the primaries.
Loading our timeline
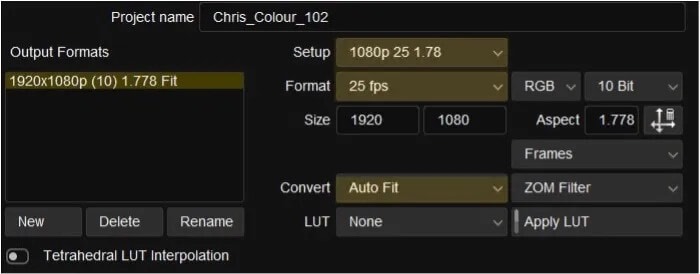
- Give the project a name
- Select the working Color space (Video SMPTE as our material is mostly Rec 709)
- Select the resolution (1920 x 1080)
- Select Auto Fit (our material is actually 720P, this will zoom it up to 1920 seamlessly)
- Select the framerate 25
- Select New Project
- Select Open Project
Load your material
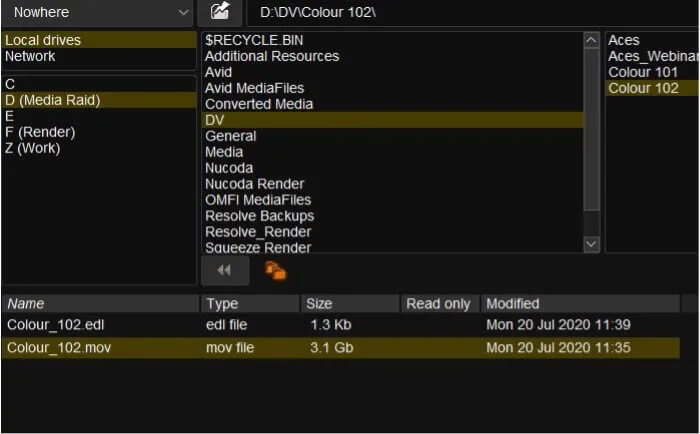
- Select the video file (Colour_102.mov) and select import
- Select New Composition
- Drag the imported video file from the media browser onto the V1 icon.
- You should now have some video in your composition
In this exercise we are going to use an EDL to put the cuts into our timeline. EDL’s are easily exported from most NLE’s. Select CMX3600 as the export format.
EDL’s are just simple text files readable in Notepad. This is ours.

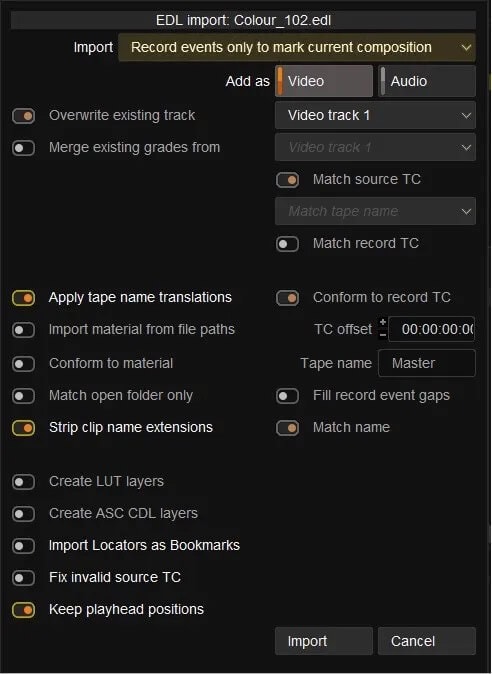
- Select Import and import the EDL (Colour_102.edl)
- Select Record events only to mark current composition.
- Import the EDL
- Your timeline should now have cuts in it.
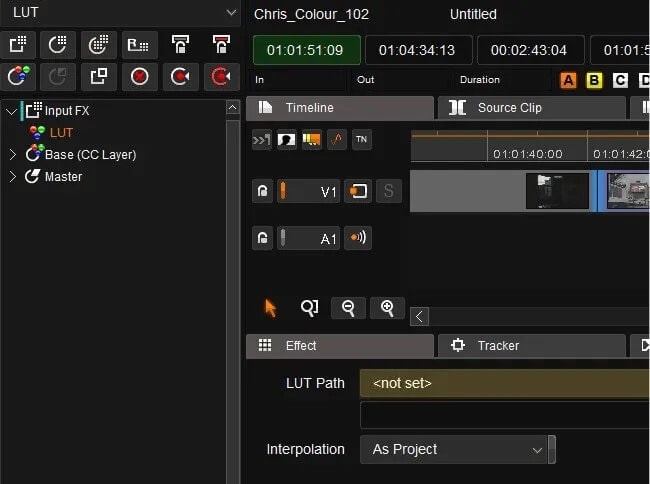
Looking through our timeline a couple of shots are in log video format, so we need to add a LUT to them.
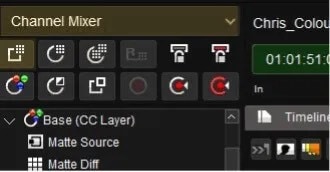
- Select the shot
- From the menu above the layer tools select color management and LUT
- Add an Input FX layer using the Input FX button below the previously used menu
- Select the correct LUT for the material from the LUT path. (BMCC to Rec 709 in our case)
Our timeline has some archive material towards the end which has internal cuts in it. We can use the scene detect feature to add the cuts into our timeline.
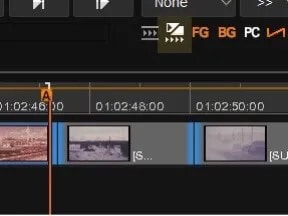
- Park the timeline just before the start of the archive sequence
- Press the I button to add an in.
- Select the scene detect icon
- Nucoda will go and detect the cuts
Grading your sequence
You now have a sequence ready to grade.
- Select Mems to get your grading environment
- Work your way through the sequence first adjusting the levels then the color. Remember grading is like building houses.
- If we have a shot that we are happy with we can save it into a memory and use it later in the timeline.
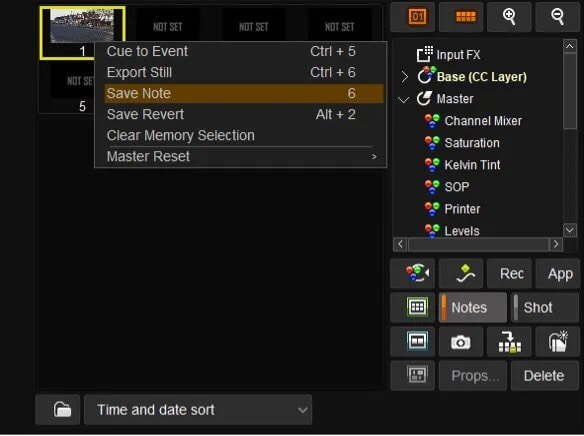
- Select the memory to be used. A yellow surround will appear.
- Right click and save note.
- To apply the note double click on the chosen note and the settings will be applied.
Correcting the aspect ratio of the archive
Our archive is currently a bit of a funny shape so let’s put it right.
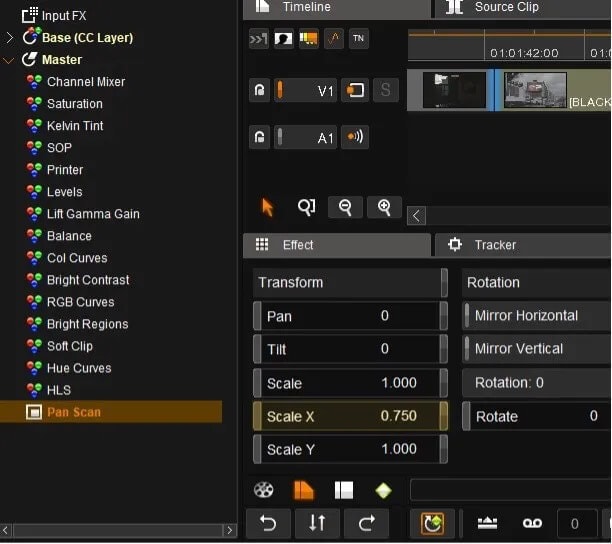
- Select Pan Scan in the master layer.
- Our archive is 4 x 3 which is scaled to 16 x 9. The correction for this in .75
- Put .75 in Scale X
- Save the correction in a note
- Select the shot. It will turn Orange
- Go to the end of the archive and shift select the last shot. All of the archive shots will turn Orange
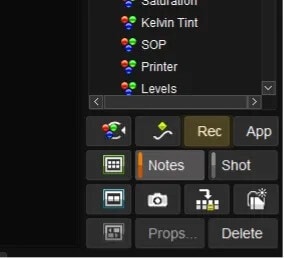
- Select the note
- Click Rec (Recall) to apply the note to all the shots selected.
- De-select the selected shots by clicking on them.
Adding a shape
Shapes are often used in grading to hold back areas that are too bright or to lighten dark areas
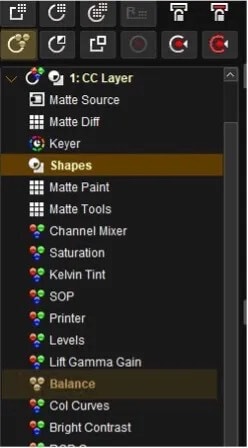
- Add a color correction layer from the layers menus
- Double click on the shapes button to open the shapes dialogue
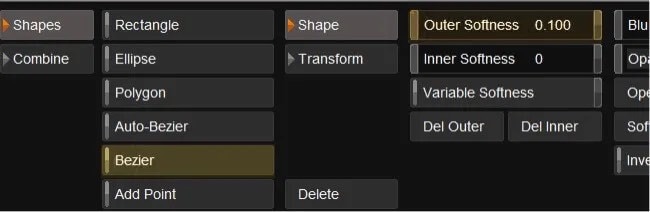
- Select Bezier
- Draw your shape on the grading monitor making sure that you close the shape
- Use the mouse roller wheel to zoom in or out to help you draw the shape
- Add some softness if needed
- Select balance and adjust the level of the material within your shape
- If your shape is inverted use the invert shape button to invert
- Ellipses, rectangles, and polygons can be selected using the same technique.
Exporting your sequence
If you are happy with your sequence, you can export it using the methods that we discussed in the Color Grading 101.
Ready for more? Check out the next lesson in this series, Color Grading 103.
